Ever since I have a roof top tent on my Toyota Landcruiser, I wanted to put a solar panel on it. In the Sunbeam System Nordic 54W Flush Solar Panel I found the almost perfect setup that suits my needs. Enjoy the video!
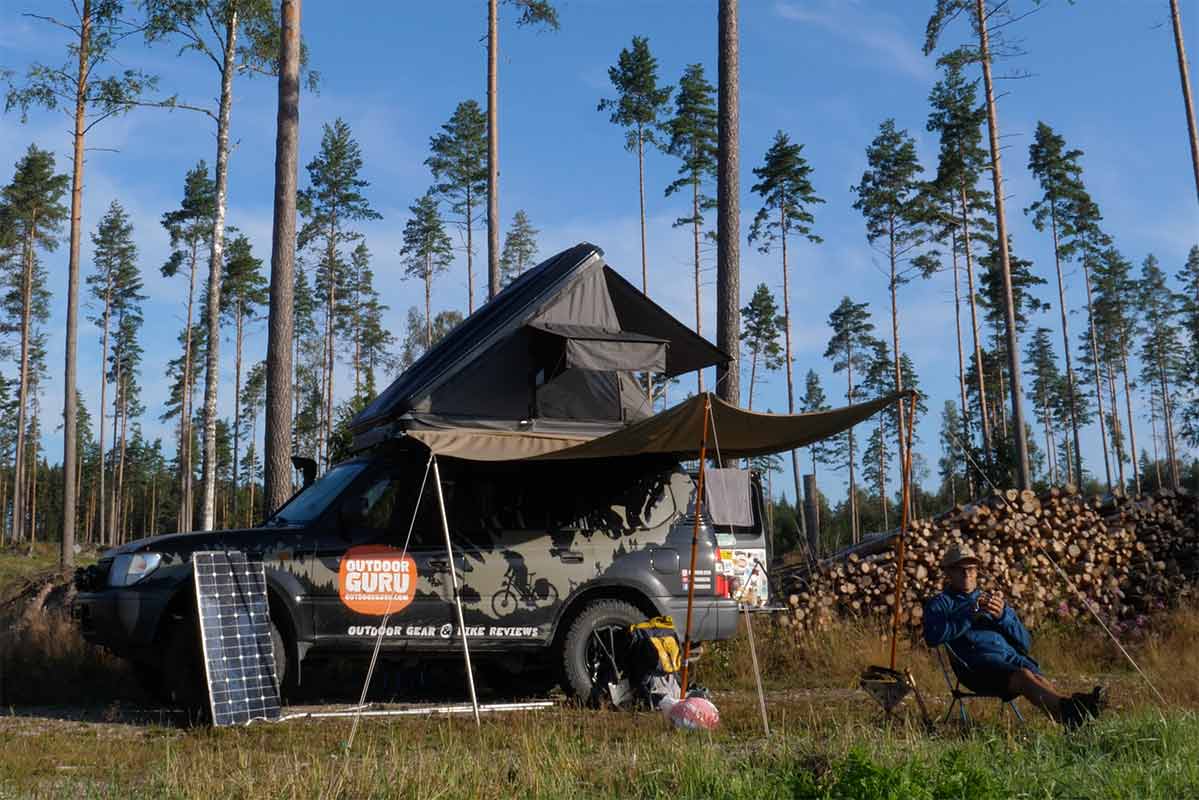
I drive a 1998 Toyota Landcruiser. It has a snorkel. A roof top tent. A few nice bucket seats from the Japanese brand Bride. In the back I made a nice drawer DIY system for the Engel fridge and all my camping and camera gear. And… a large 104W Sunbeam System Solar panel. I use it to charge a big 14 kg heavy GoalZero Yeti 400 Power station when I am on a camping slash shooting spot for a couple of days. When I am driving I use the engine to charge the GoalZero of course.

Roof Top Tent
This setup works for me except for the fact that I always wanted to put that big Sunbeam solar panel on top of the roof top tent. But… that doesn’t work. The roof top tent that I have is Hopper from the Dutch brand Femkesrooftoptents.com. I made a review of this tent and I liked it so much that my wife gave me one when I turned 50. Thanks dear! The reason why I like this tent so much is because it is a clamshell model and the tent fabric is made from breathable waterproof Ten Cate material. Yes, read the review or watch that video.
The reason why I can not pot the Sunbeam solar on the roof top tent has got to do with the shape of that shell; it is pretty curvy. The 104W Sunbeam System solar panel is a flexible one – it is designed to ‘glue’ it to the deck or cabin of a yacht or the roof of a recreational vehicle or campervan. It is not that flexible that it will attach to the ‘whale’ I have on top of my Toyota Landcruiser J95.
Lensunsolar versus Sunbeam System.
It took me about two years – don’t ask me why – to see the solution: a smaller panel. The Hopper has two sorts of flat spots: one almost perfectly flat at the front that measures about 25 cm by 54 cm and one on the rear that is 54 cm by 54 cm and has a shallow curve. Bigger is better in this case so I went online to find a square 54 cm by 54 cm solar panel and I found quite a few. Most interesting ones: A few panels from Lensunsolar and – again – Sunbeam System. Because I needed some extra information about whether it would be technically possible to glue the panel to the ‘plastic’ roof top tent shell, I sent them some emails. The best replies came from… Sunbeam System.

What I ordered
Sunbeam System solar panels are quite pricey if I compare them to other brands. But my 104W solar panel performs super. So I ordered – just at the full price – the 54W Sunbeam System Nordic flush mount panel. And I ordered a few other goodies to make it work. See the list below. I bought the stuff from the Dutch Sunbeam Systems dealer Solarpowersupply.eu. A super company that is knowledgeable and has proven to be helpful when I had a malfunction on the GoalZero last year on holiday in Sweden. I bought that one there too,
Gear that I use for this setup
From https://solarpowersupply.eu
- Sunbeam System Nordic 54W Flush Solar Panel € 149,00
- MC4 Solar Connectors (1 set) € 4,95
- Sikaflex 291i Black (1 tube) € 17,50
- MC4 to USB-C 65W PD output adapter € 39,95
From www.bol.com
- Vues USB-C female to male cable 2 meter € 14,95
- MojoGear Mini XL Powerbank (20.000 mAh) € 32,99
From www.amazon.com
- Self-Adhesive Cable Clips (100 pcs) € 16,44
DIY
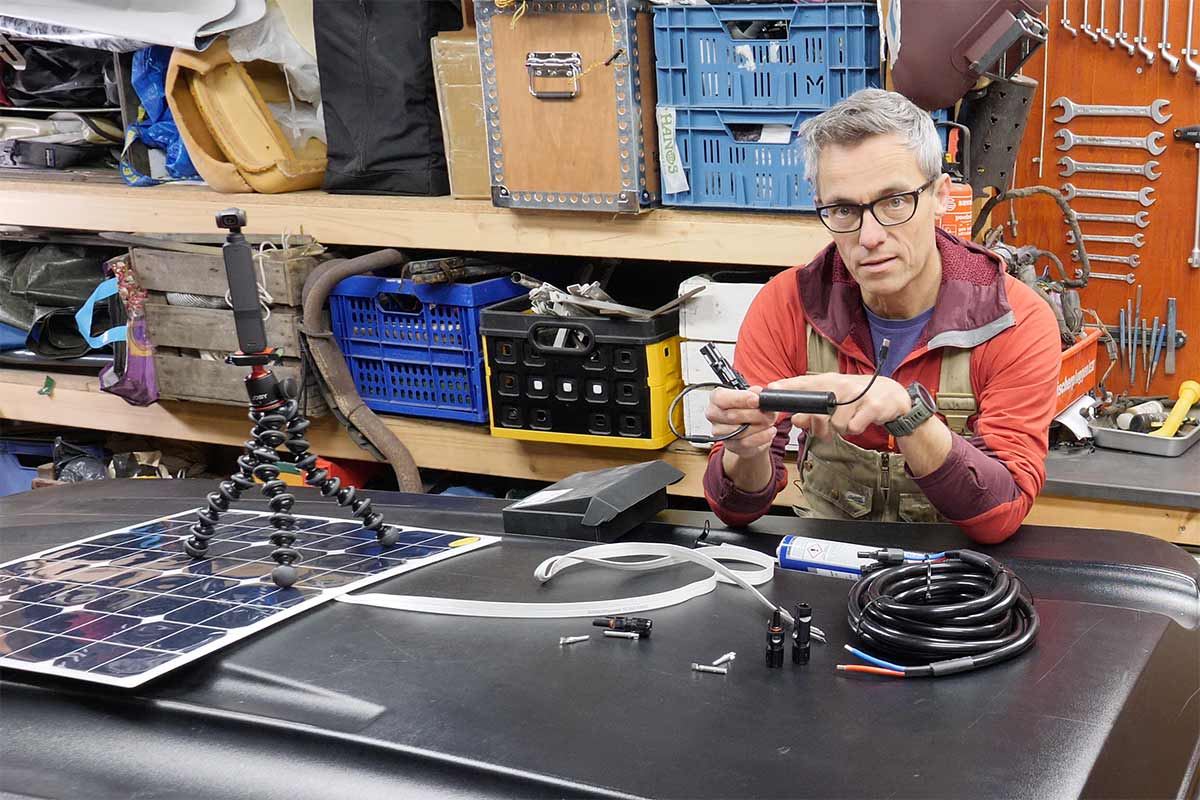
To see how I DIY everything on the roof top tent, just watch the video. Nowadays I like shooting and editing videos more than I like writing to be honest. The 54W Sunbeam System Nordic flush mount panel has been on my roof top tent for a couple of weeks now and I am happy about how it worked out. It charges my GoalZero and also the power banks that I use. I am still waiting for a new power-bank-power-station crossover. Production is delayed – things with batteries are a problem at the moment anyway – I can’t wrap this project yet. I’ll keep you posted!
