The Optimus Gemini is a double burner gas stove that combines packability with a low weight. And it won two prestigious outdoor awards. The question remains: how does it perform in my outdoor life? With revealing too much…my verdict is rather disappointing. Enjoy the review!
- Weight: 789,7 grams (27.8 oz)
- Size: 303 x 71 x 105 mm (11.9 x 2.79 x 4.14 inch)
- Burner output: 3400 Watt/11.600 BTU/h
- Price: € 194,95
The Optimus Gemini is a relatively new stove. I write ‘relatively’ since it has been out there already for almost one year now. The reason why I am so ‘late’ with my review is that it took quite a while before I could lay my hands on one. Introduced in spring 2021 the Optimus Gemini immediately won a prestigious ISPO Award and the Outdoor Retailer Innovation Award.
Not all is well with the Optimus Gemini
Quite soon after the stove went on sale, a problem appeared: some stoves had a gas leak resulting in an extra flame on the side between the burners. Delivery of the stoves to shops and consumers was postponed and the ones that malfunctioned were investigated and exchanged. The problem was only occurring at a small amount of stoves and a total recall was not needed.
Optimus made improvements and in late autumn the stoves were ready for delivery. I got mine last februari after being reminded by the Dutch distributor Robijns that I promised to do a review on the stove. Mine was already a couple of months on a shelf in their warehouse.
Size, weight and power output
Before I start with a rather devastating review let me begin with things I always do when reviewing. Just looking at the Gemini two burner stove one sees at the glance of one eye that it is a pretty compact setup for a two burner stove.
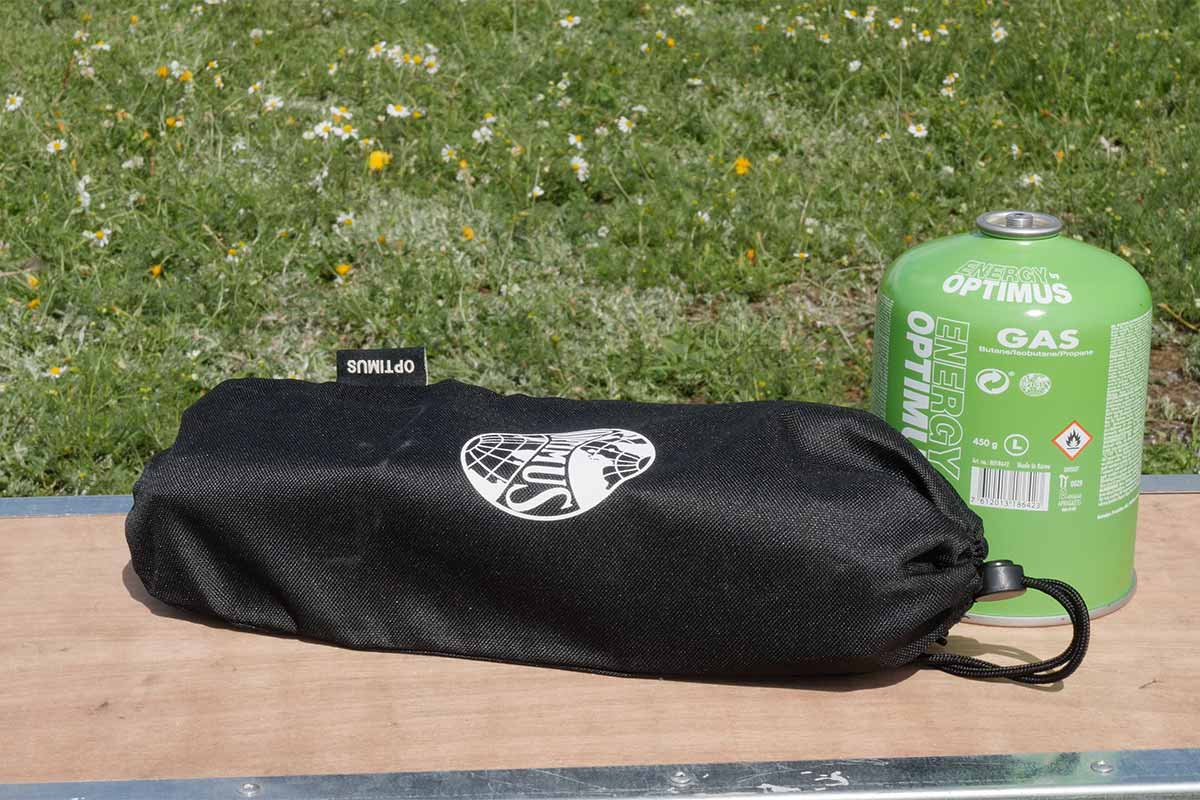
I measured the packed size at 303 x 71 x 105 mm (11.9 x 2.79 x 4.14 inch) and the weight at 789,7 grams (27.8 oz). That is pretty spot on with the size and weight that Optimus claims: 305 x 70 x 105 mm (12 x 2.76 x 4.14 inch) and 790 grams (27.8 oz). The pouch weighs 32,7 grams. Optimus states a power output of 3400 Watt or 11.600 BTU/h for each burner. Regrettably this is something that I can’t check. What I can check is the average boil time for one liter of water and Optimus claims 4 min for one liter. More on my measurements later.
Materials & design
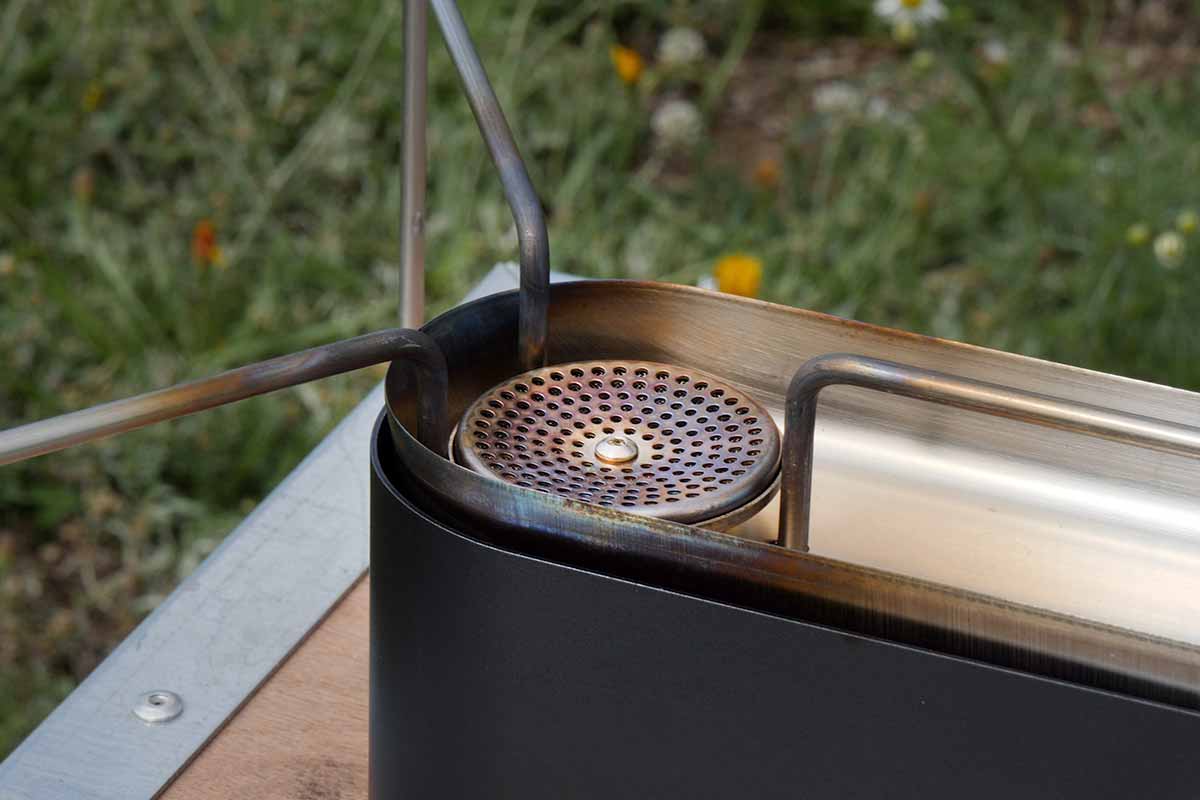
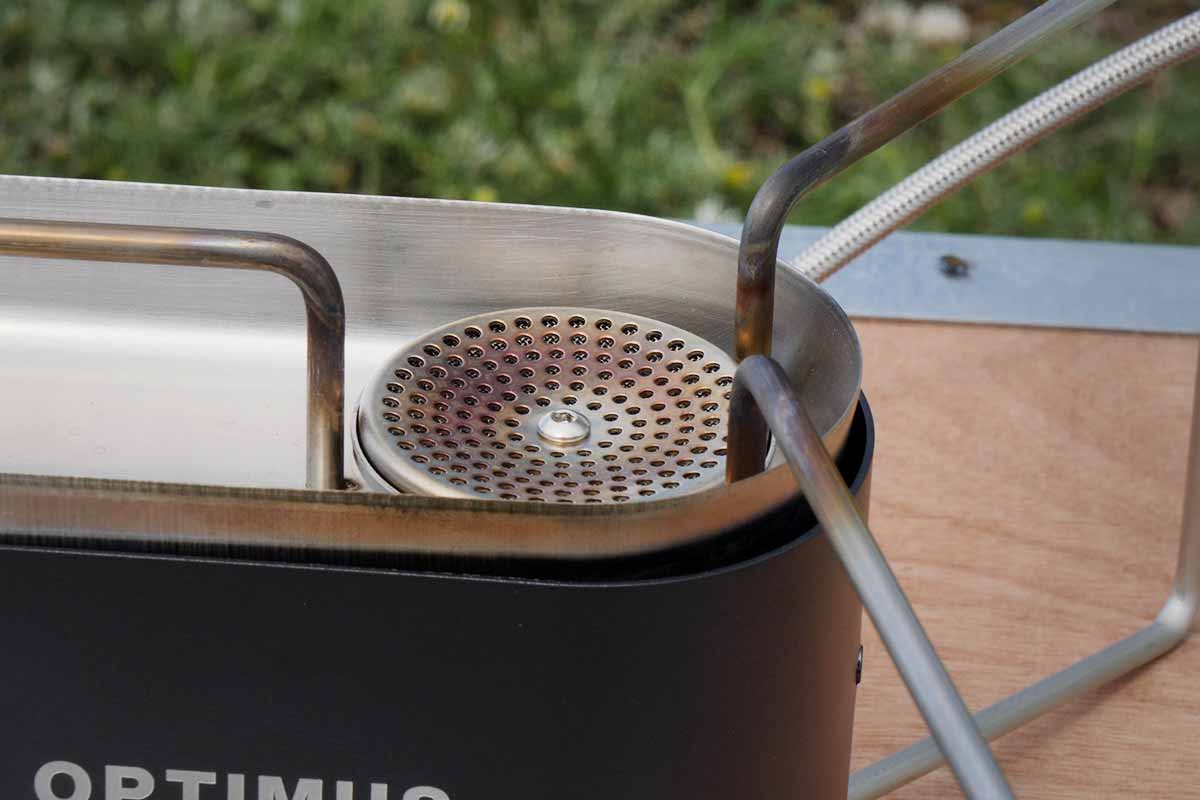
Designwise the Optimus Gemini is a very clever stove. The heart is a stainless steel body with a U-shaped pot support. In the center two foldable controls are placed on the side. The two burners are positioned on either end of the body. On each end two large foldable stainless steel pot supports are connected to the body. A steel gas hose is connected to the bottom of the burner body and on the other end you’ll find a connector for the gas canister. The burners and some covers on the bottom are bolted down with hex bolts. They can be removed. Handy in case of replacing parts, although I would not advise doing this.
The manual
Allow me a bold statement: I truly believe that a good designed product does not need a manual. Operation should be self explaining, logical and safe. With a stove I still believe this but I do think it is smart to read the manual, labels and signs before doing anything. So I did.
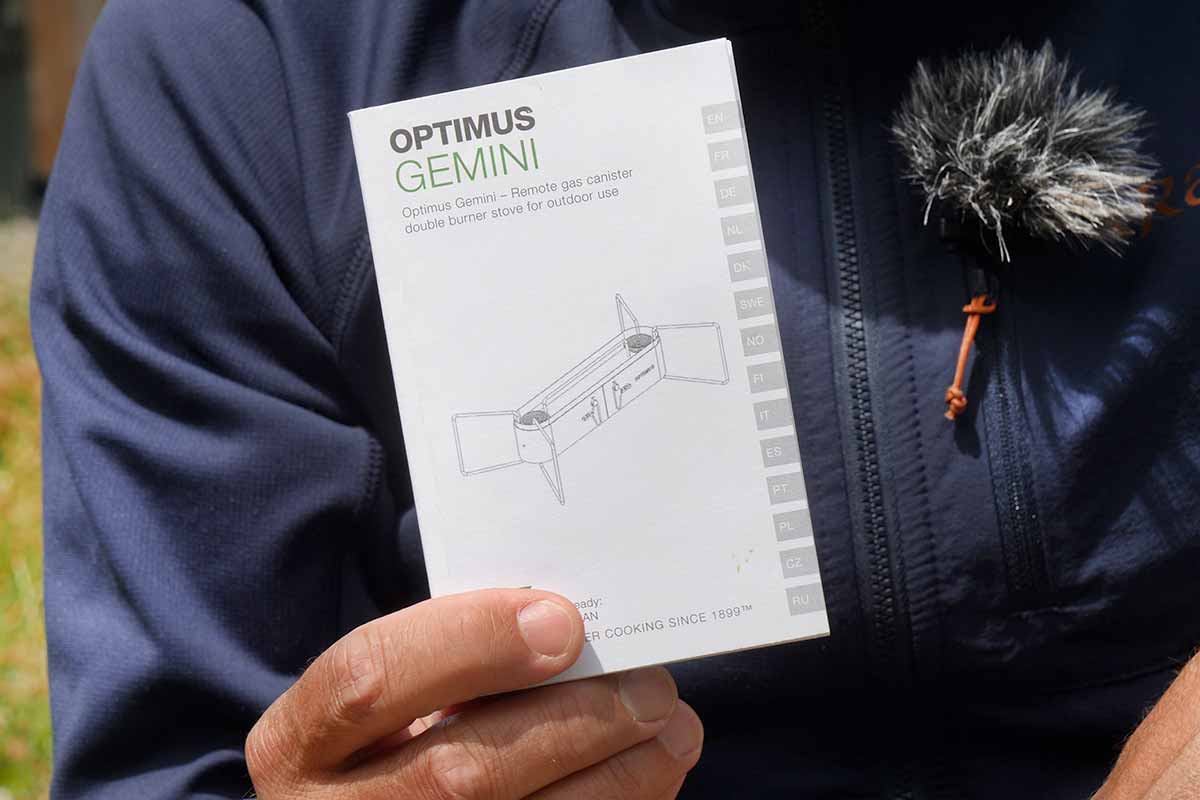
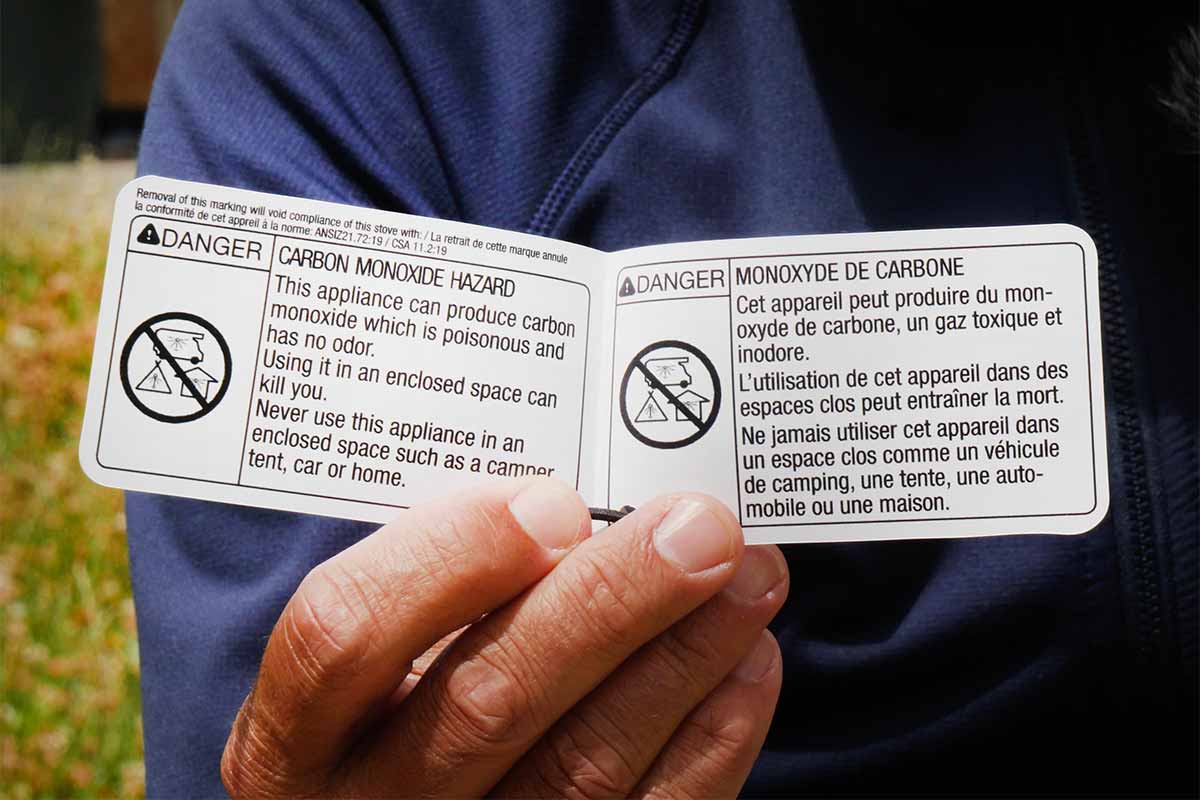
The manual and a label attached to one of the regulators warns of Carbon Monoxide poisoning. The fact that a stove produces Carbon Monoxide and that this is an odorless and dangerous gas… I know. That I should not use it in an enclosed space… I know. That I should check the seals and that I should not use a leaking stove and that I should not use a flame to check for leaks… And it goes on like this. All pretty standard stove procedures. Nothing to worry about. Except for one thing and now onto the next chapter.
In practise
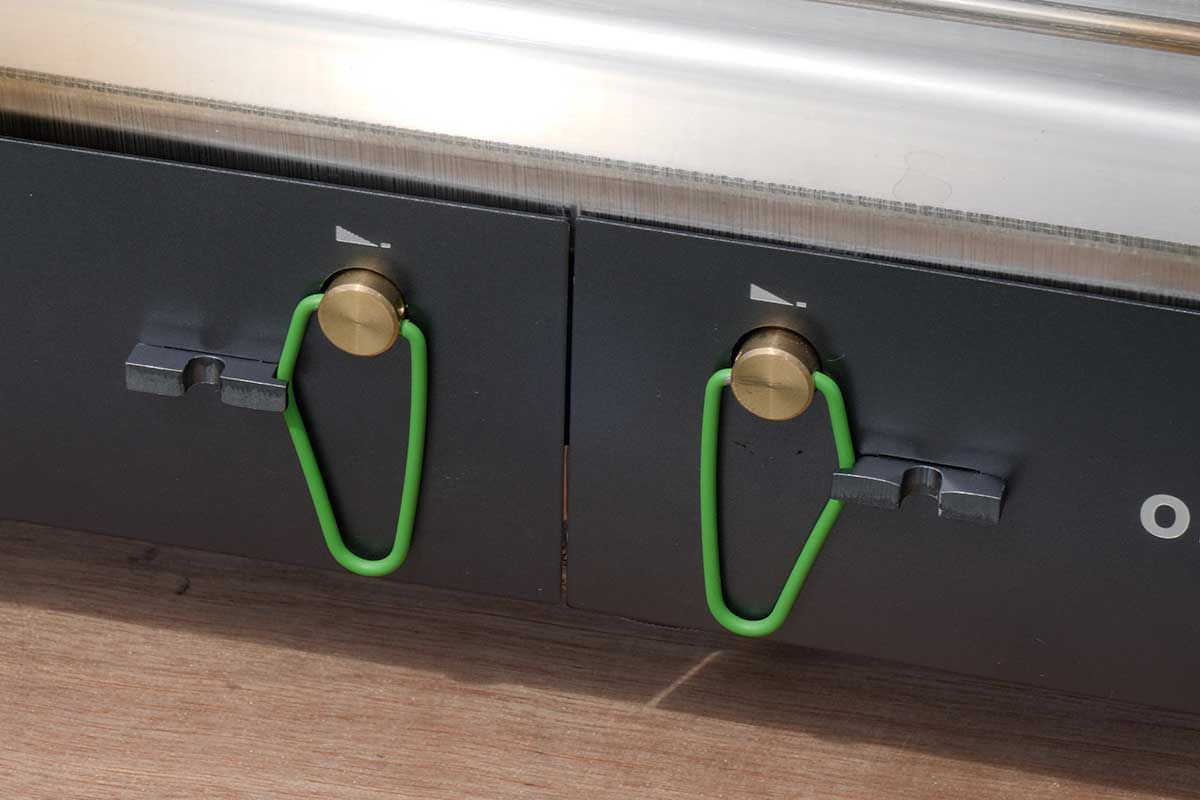
Using the Optimus Gemini appears to be easy. Take it out of its stuff bag, fold the legs open, connect the gas canister and you’re good to go. WRONG! The manual states at Chapter 1.4: ‘Fold out the control valve handles and make sure that they are fully closed.’ A bright yellow sticker on the gas hose writes the same and explains why: ‘the gas flow regulators are not fully closed in the transport position’. In this transport position the paperclip-like handles are folded flat and they click behind a notch. When unfolding them I need to turn them clockwise for about 55 degrees to close them fully.
I like the flat storing position but how it’s done is a design mistake. We are accustomed to turning to the point that the regulator is at full stop. That means: valve closed, no gas or fuel running anymore. If you do this with the Gemini regulators, the ‘paper clips’ don’t fit in the notches. You’ll have to turn it -55 degrees counterclockwise and fit them in. To me this is a hassle I don’t need and when stored the valves should be closed to prevent mistakes.
The second design mistake is the fact that the ‘why’ is not mentioned in the manual. The yellow sticker is a ‘repair warning’.
Design mistake number three is the fact that the print on the yellow sticker fades or rubs off when removing the sticker. So it is lost for future reference.

By the way… The two paperclip-like regulators are positioned in the middle of the burner body. In principle the regulators are stored in a nice way but since they are designed like large paper clips and sit flush to the body, they are a fiddle to get out with cold bare fingers and almost impossible when gloved up.
Connecting the gas canister
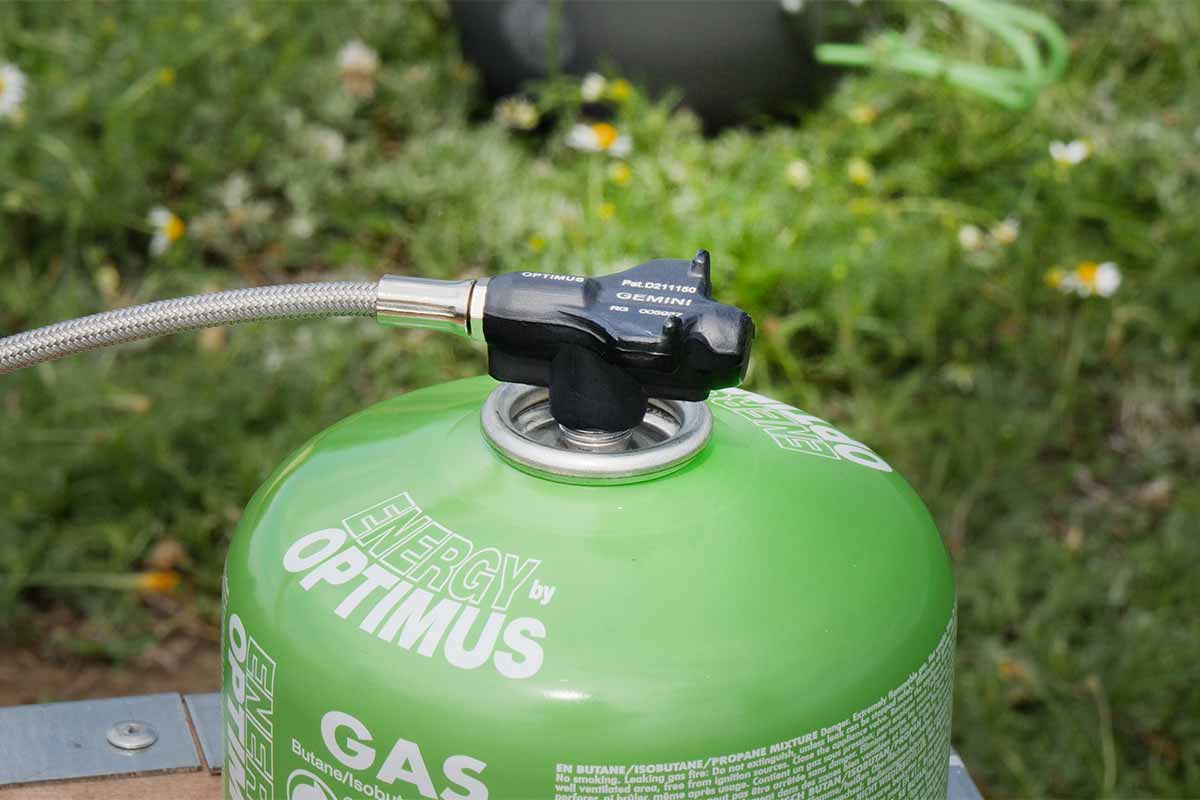
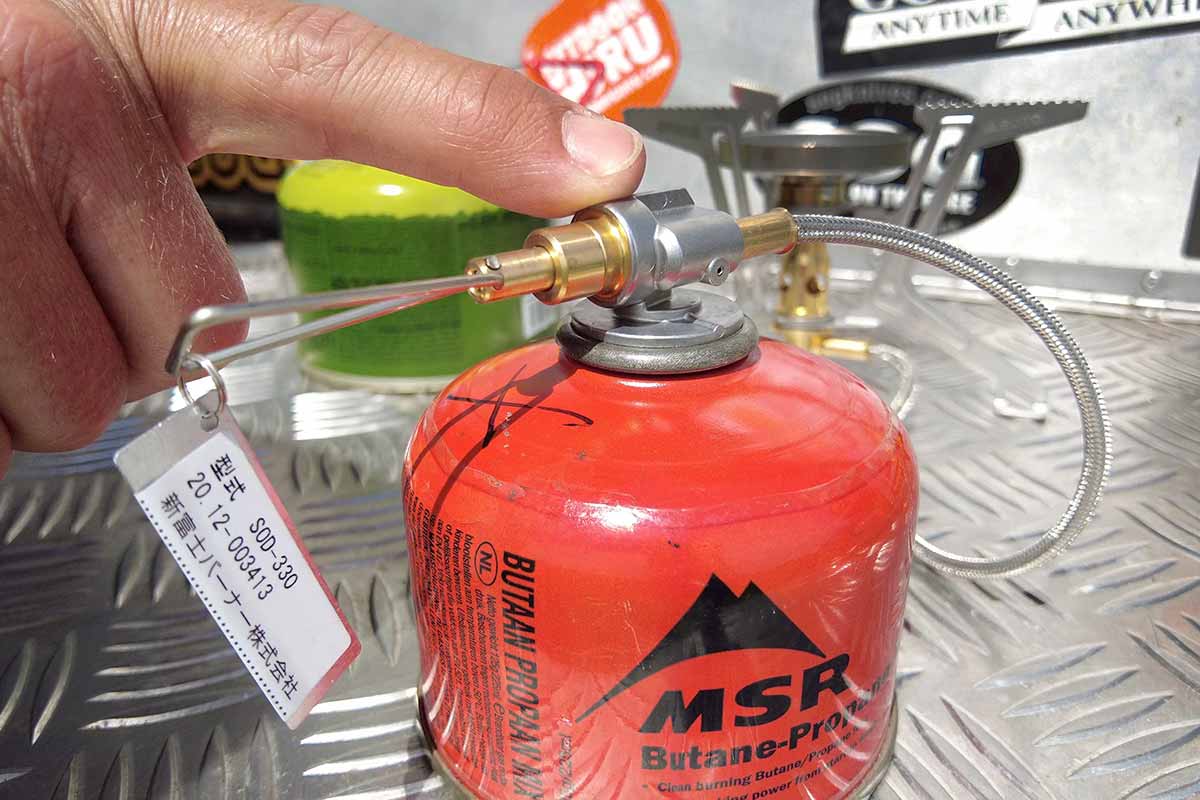
With the valves closed it is time to connect the gas canister. The manual states clearly that I should turn the canister in an upright position to screw it on to the connector. When doing this with the canister tilted a bit, liquid gas escapes leaving very cold fingers. Believe me, I tried. Screwing the connector on top of the gas canister totally horizontal is not very convenient. Tilting it a bit happens automatically almost every time. The shape of the connector is also not that friendly to the hands; it has some funny notches that are not that comfortable.
Set up of the stove
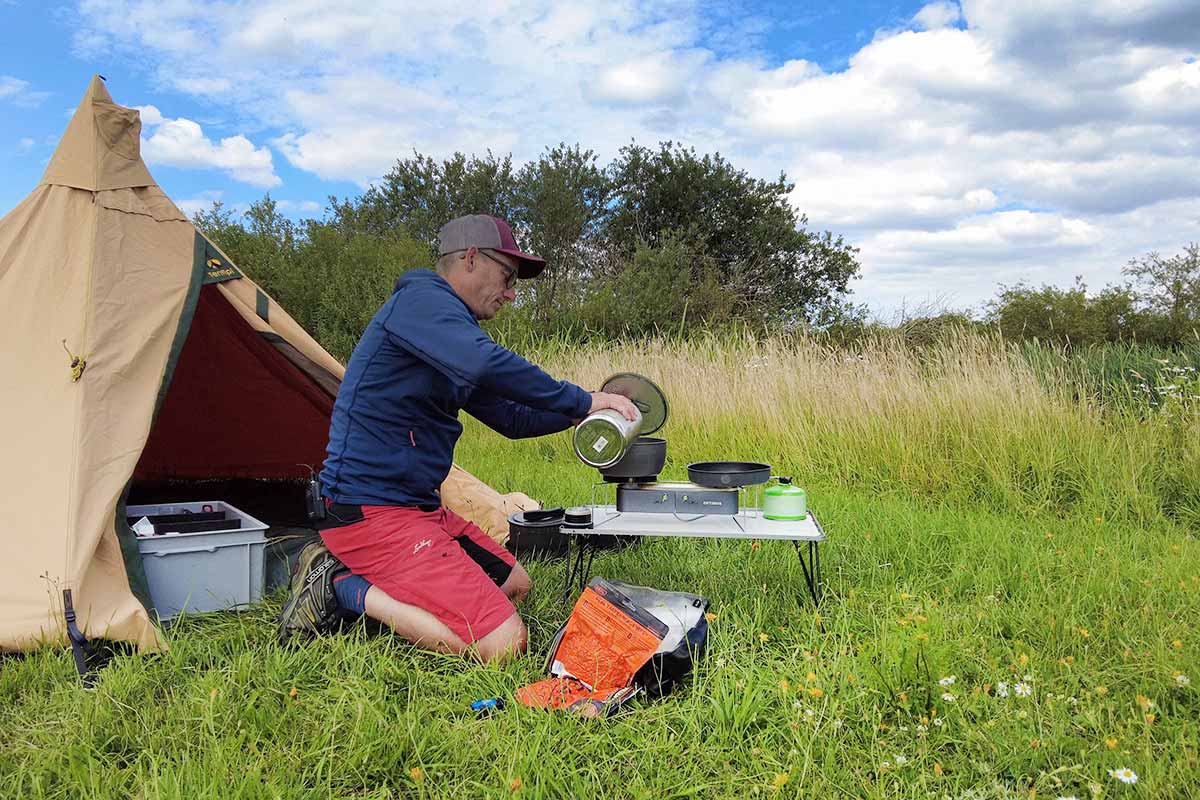
In the pack ready position the 4 U-shaped legs or pot supports, click firm in solid notches in the base. Unfolding is just a matter of clicking them out of the notches. The stove needs a level surface to stand safe. In the field this is not always easy. A camping table or the shelf on the back of my Toyota Landcruiser is ideal. Make sure that the gas hose is not twisted and position the canister at a 90 degree angle behind the stove. This is NOT mentioned in the manual but I will explain later why this is important for a SAFE operation of the stove. Yes, there is another – very serious – design mistake later in this article.

Gas regulating
One of the spear points in the development of the Optimus Gemini is a very subtle regulation of the gas flow. In other words: making simmering as easy as going full blast for a fast boil. I am not convinced that Optimus succeeded in this.
In the first place, to get the gas to flow to the left burner takes a 545 degree turn and to the right one a 560 degree turn (not the 360 degrees as stated in the manual, so another flaw here: number 4). That is the point that I hear the gas flowing. Then I can light the gas with a lighter, a match or an Optimus piezo. With the gas burning, I can turn the regulator 720 degrees to get to the full stop at the other end. Thing is… in the first 180 degrees I already hit the 100% maximum gasflow.
Also… after igniting the flame I discover that I can tune back the flame almost 90 degrees before the flame dies. This means that full flame control – from simmer to fast boil – is done in a turn of 270 degrees. This is quite nice and would be user friendly if I do not have so much turning in front and after. I just don’t see the point of this. In general the regulation of the flame – or power output – in that 270 degrees area is fine.
One side remark about the igniting of the Gemini: It would be nice to have a fixed piezo on the Gemini body. My most used gas stoves are a Jetboil and a Primus Etapower. Both have fixed piezo and this makes them super user friendly.
Boil time and gas consumption: How I test
Like I promised above: I did measure boiling times and how much gas it takes to boil 1 liter of water. Allow me to explain the method that I use to measure this.
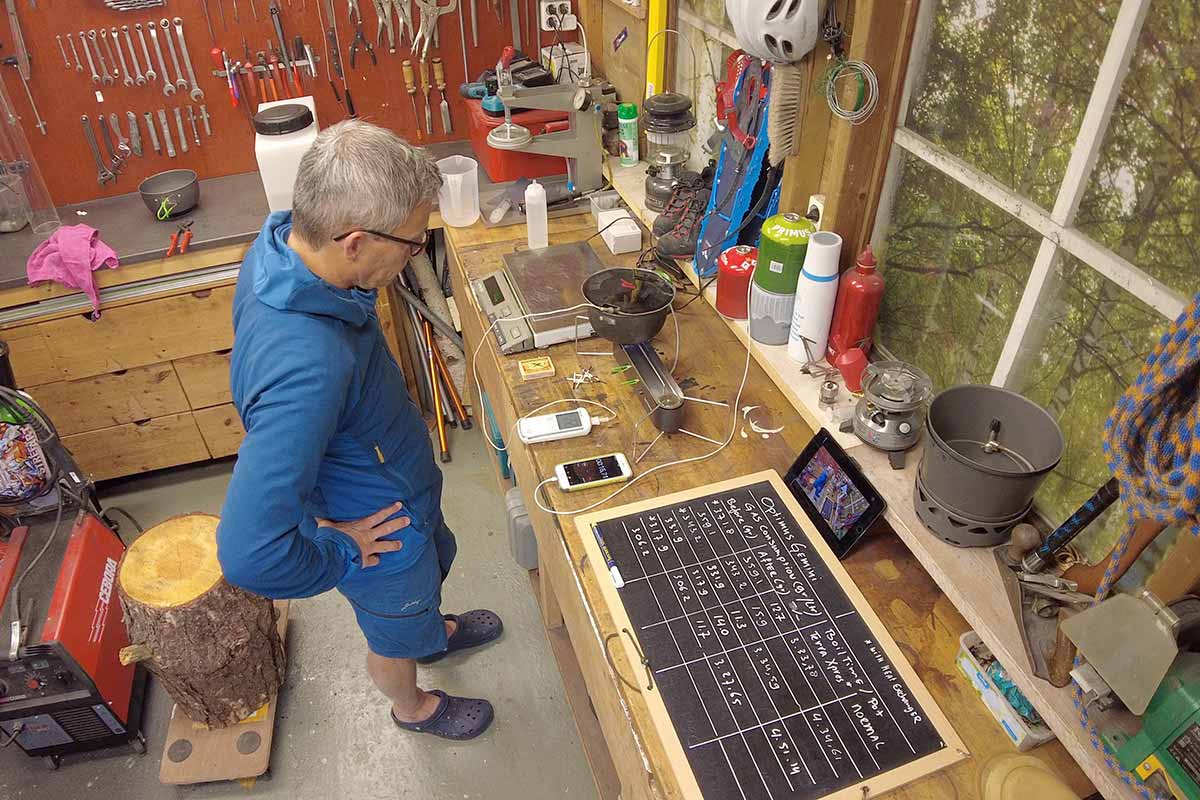
To get precisely 1 liter of water in a pot I use my calibrated scale. 1 liter of water weighs 1000 gram. I use a syringe for the last grams so I get the weight spot on. On the same scale I weigh the gas canister and after weighing I connect it to the Gemini. Then I put the pot on the stove, light the flame and crank it up to full blast. At the same time I start the stopwatch on my iPhone. In the pot is a thermometer that measures the temperature at 0.1 degrees.
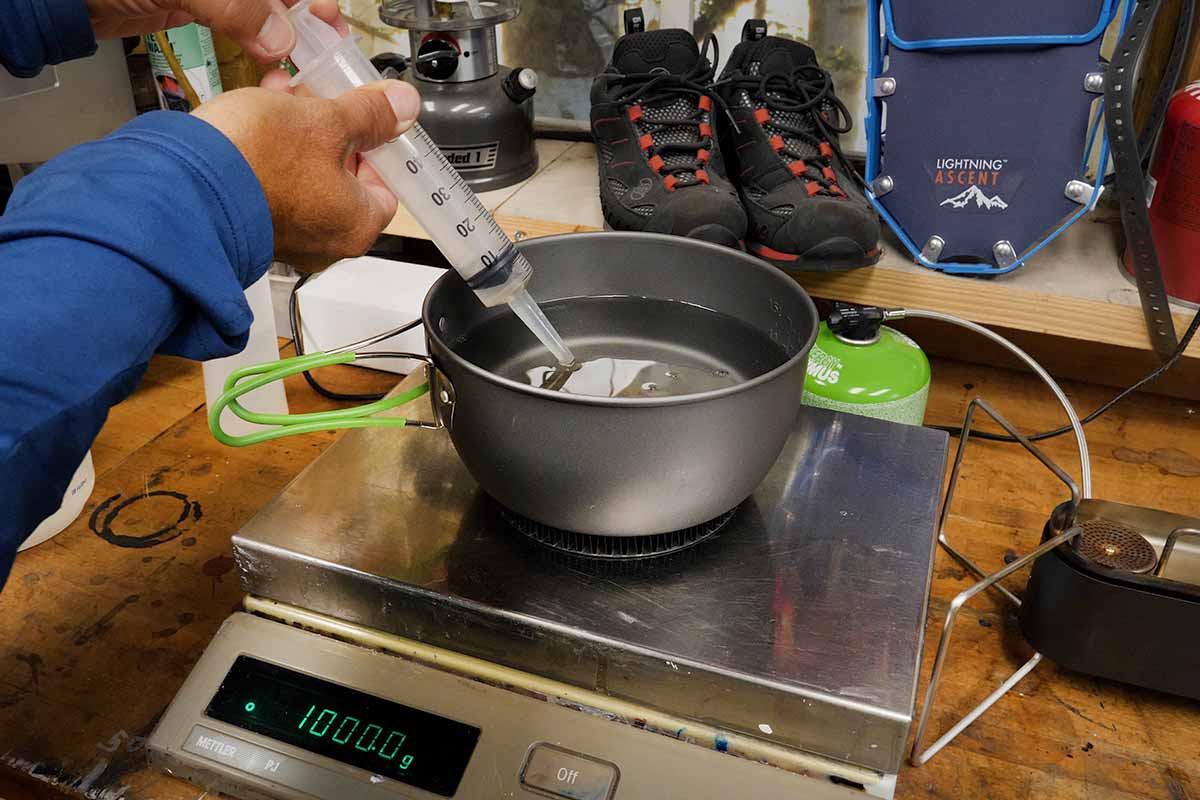
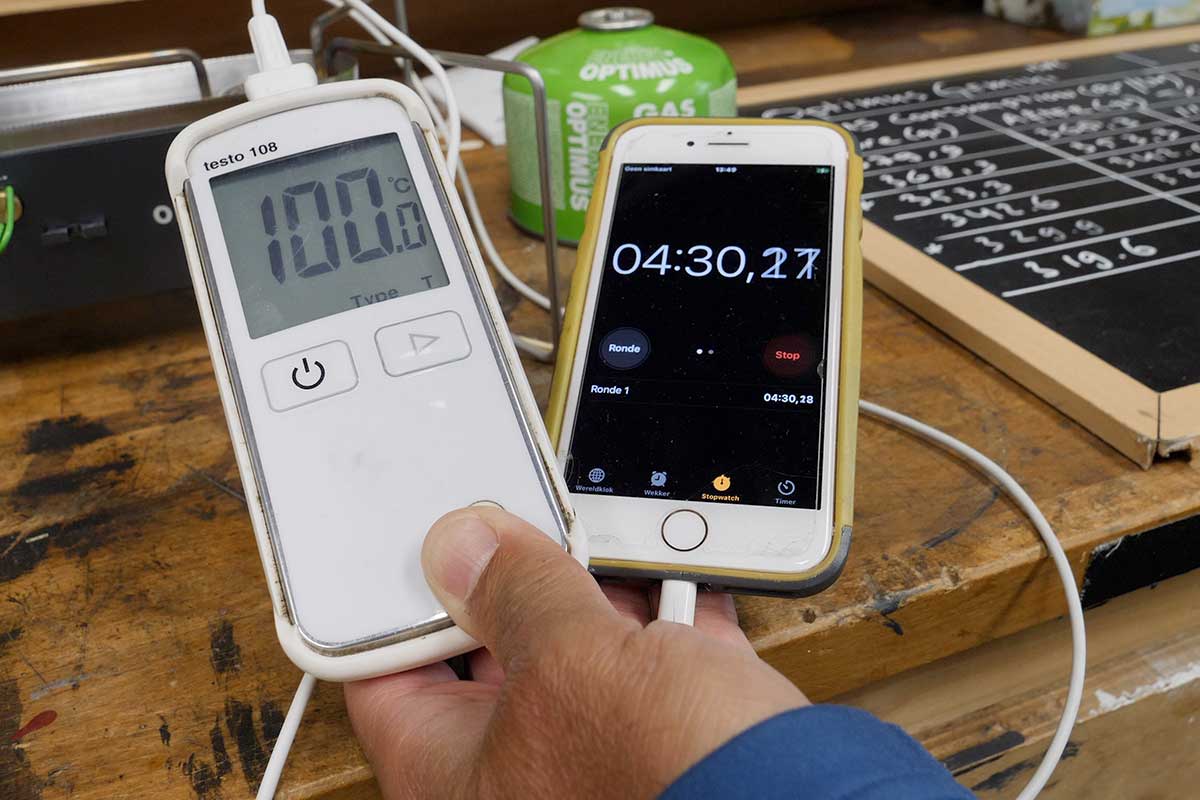
Water boils at 100 degrees at 1013 mBar. I was lucky since at the time when I did the measurements the barometer was at 1015 so not that far off. Boiling also means a rolling boil. That I checked visually. At 100 degrees I stop the stopwatch and turn off the gas. I disconnect the gas canister and measure the weight resulting in a number (grams) of gas consumption.
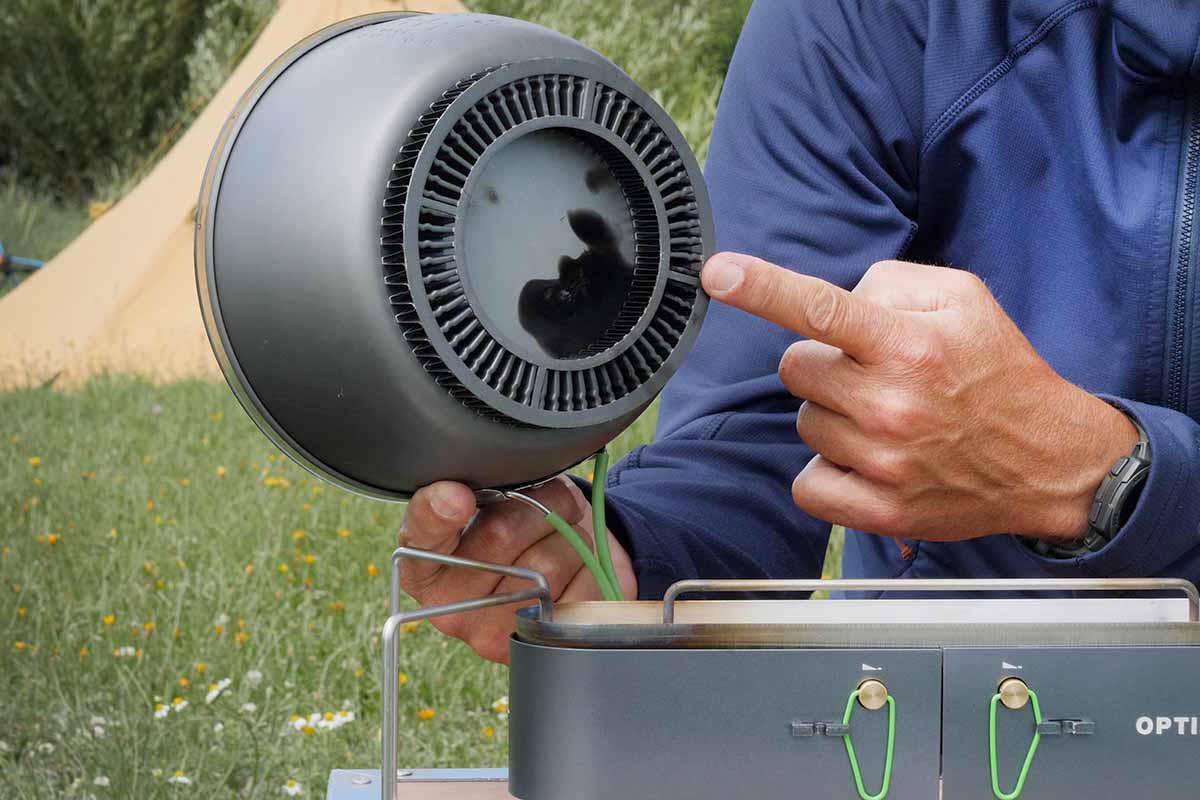
I did 6 runs with the Optimus Terra Xpress HE pot and 6 runs with a regular pot. The Terra Xpress HE is a special pot since the HE stands for Heat Exchanger. This is a ring underneath the pot that makes that energie is put into the pot far more efficiently than pots with a normal flat bottom. Just look at the numbers and you’ll see the difference. After testing I added up the numbers and took the average of them.
Boil time and gas consumption: results
The results are quite clear. With the Optimus Terra Xpress HE pot it takes 3 minutes and 29 seconds and 11,4 grams of gas to boil one liter of water. With the regular pot it takes 4 minutes and 41 seconds and 14,5 grams of gas. So… the Heat Exchanger is a clever energy friendly invention. Not unique to Optimus by the way; Jetboil was the first I believe and others followed.
Back to the promise that Optimus does: 4 min for one liter. They don’t disclose what kind of pot neither the test circumstances. Let’s not make a big deal out of it. 4 minutes is almost exactly what I get when I take the average of the Terra Xpress HE pot and the regular pot: 4 minutes and 5 seconds and 12,9 grams of gas. So… Optimus keeps his promise. Using both burners at the same time does not change the numbers.
SAFETY WARNING
During testing outdoors and in my well ventilated shed to collect data, I always positioned the gas canister behind and next to the burners (see picture!). This is the natural way I guess. While finishing the first series of test runs in my shed, all of a sudden the whole stove, pot and lid went on fire. I turned on the camera immediately so we have footage on what I did to extinguish the fire but first I looked for what caused the blowpipe flame. It was a melted piece of gas hose. I unscrewed the gas canister – a little blowpipe flame from escaping gas as a result – and the fire died. Almost… the plastic lid kept burning. A fire extinguisher was at hand by the way but I thought about the mess afterwards….
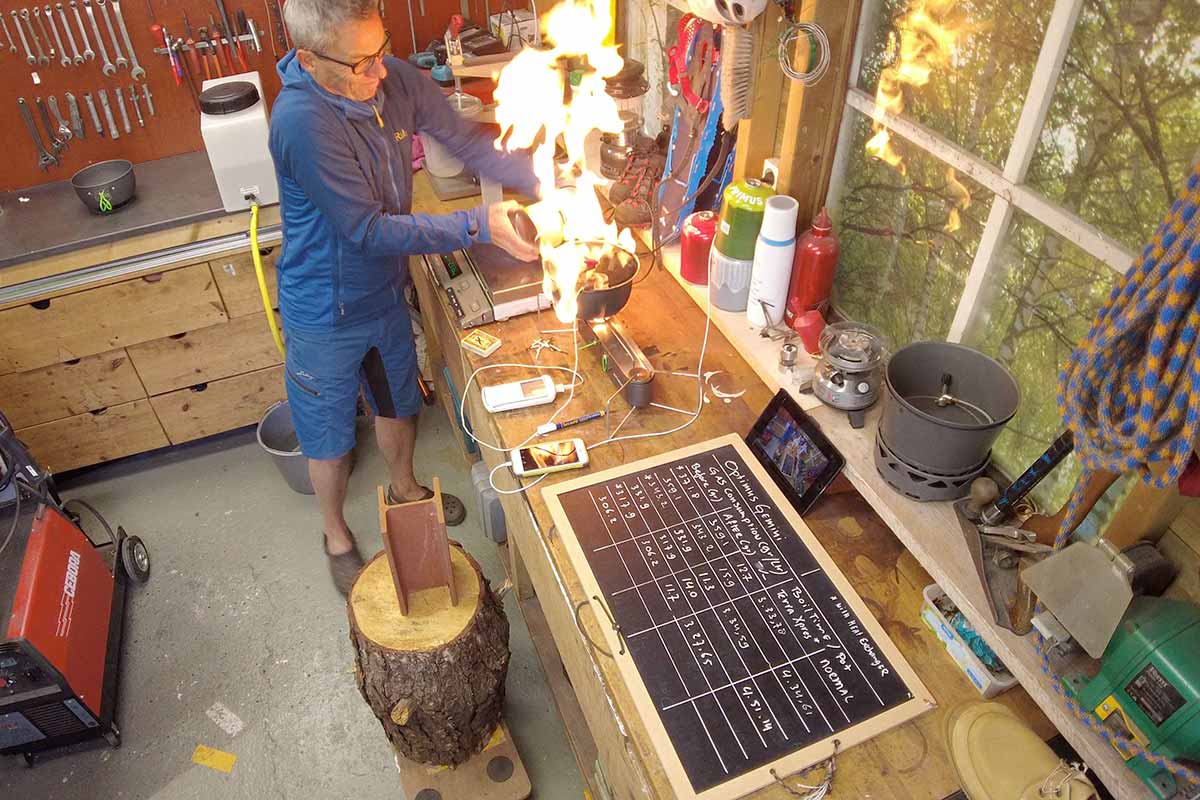
Now what happend? With positioning the gas canister the way I did it was too close to the heat of the flame too often. So I take full blame for this. But…. This happened with a 230 grams canister that I put on my scale to measure and check the amount of gas that is consumed during testing. The pot I was using was a normal pot without a heat exchanger. At full blast the flames go around the bottom of the pot and a lot of heat goes to the sides. This resulted in the gas pipe failure. Putting the 230 grams canister on the workbench solved this in the second run. But know… what with the higher 450 grams canister?
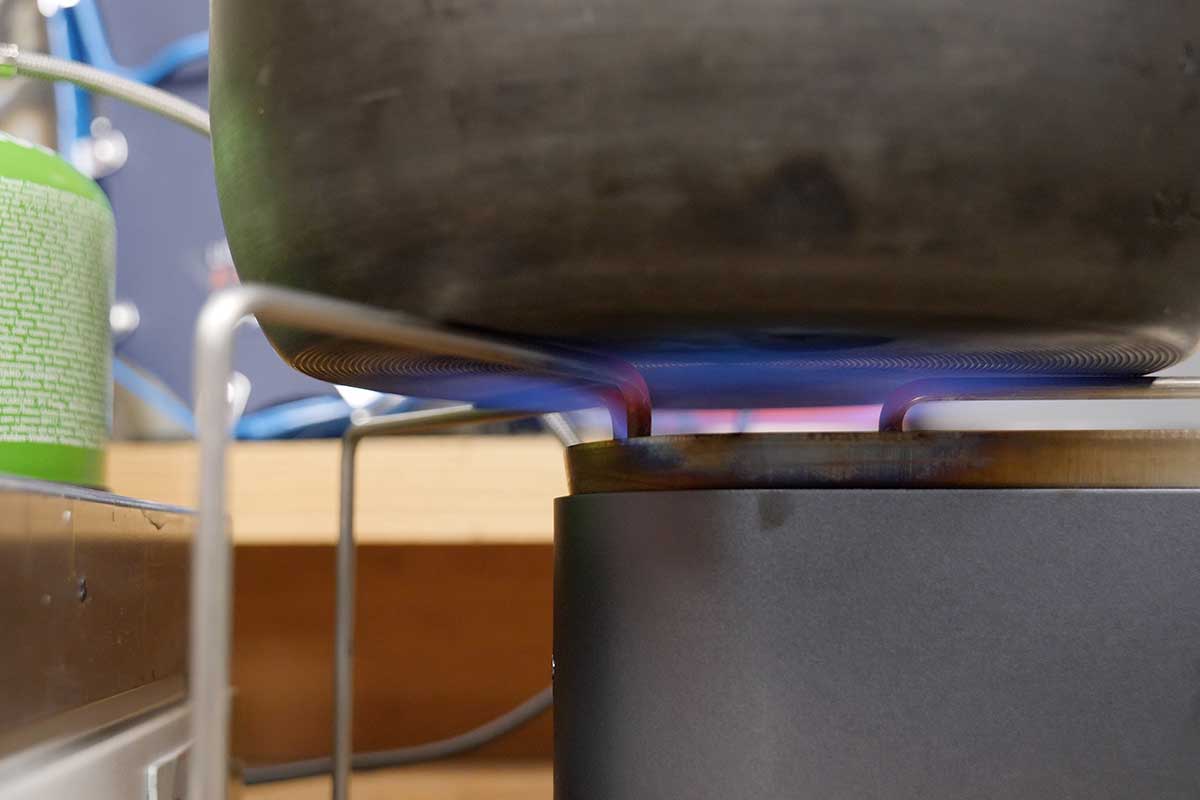
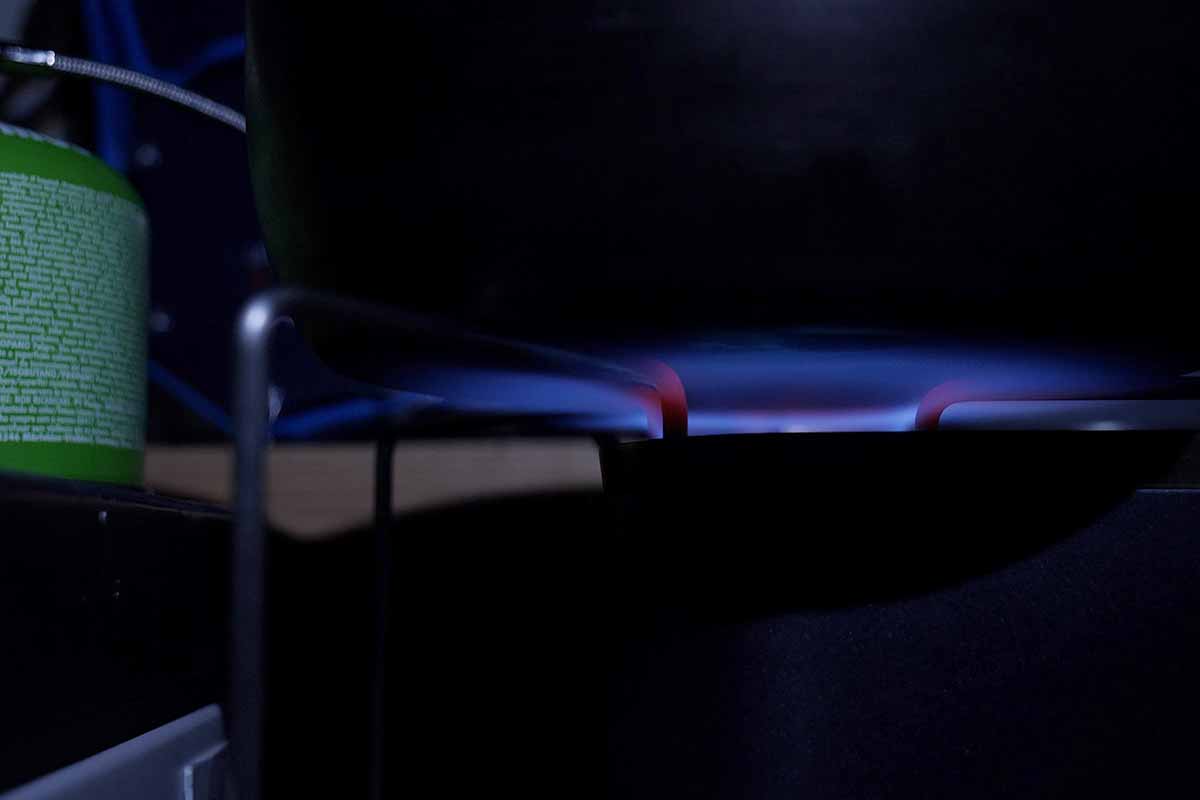
Well… I warn you. If you use the big canister make sure to put it in a 90 degree angle in relation to the burner and don’t use pots with a diameter that is bigger than the allowed 230 mm. Otherwise I can not guarantee that nothing will go wrong.
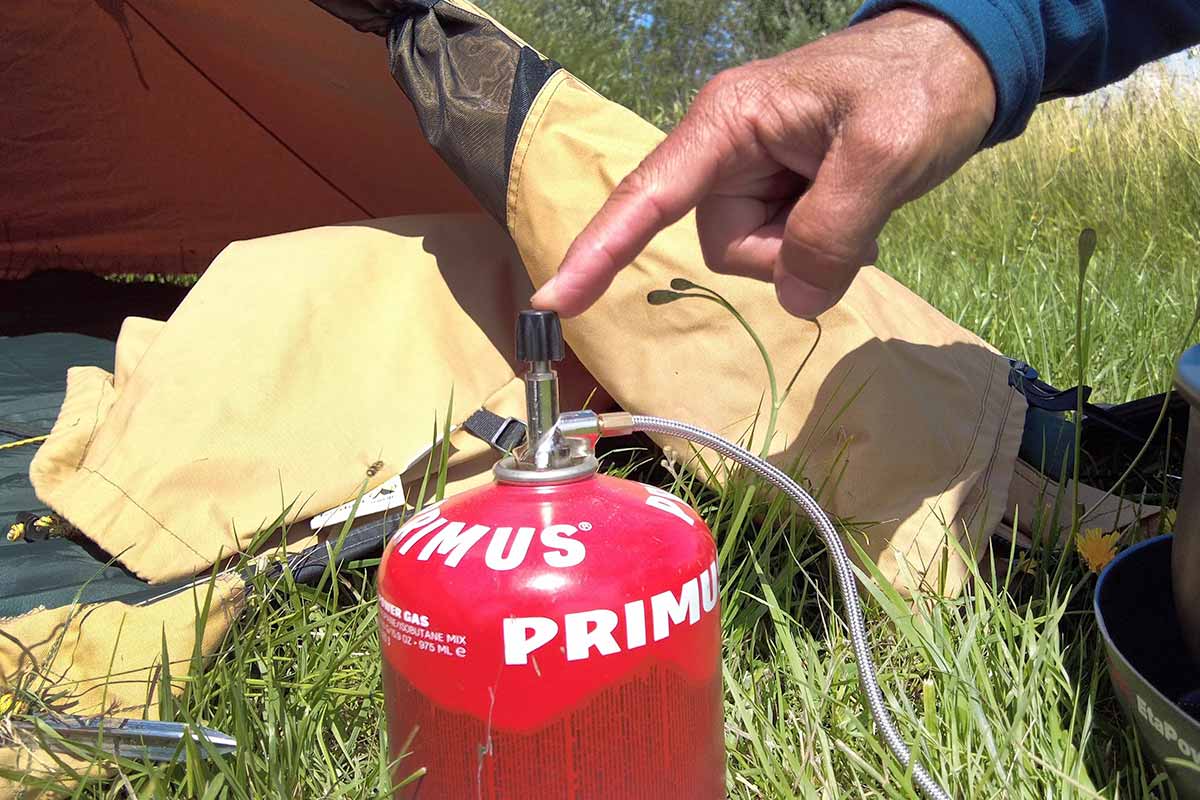
What happened is my fault but it also showed a more serious design mistake – number 5 if I counted correctly – of the Optimus Gemini: the fact that the stove misses a regulator on the connector. If something goes wrong with the burners, the gas hose or what is cooking on the burners there is simply no safe way of shutting down the gas flow. Especially since this is a two burner system that is more likely to be used in regular camping in the vicinity of tents or camping equipment instead of hard core outdoor camping I think a Safety Warning is justified. Like I wrote: I did read the manual and it says that I need to keep a safe distance of 1.25 meter around and 1.5 meter above each burner. Get real, how can anybody cook in this way?
Packing
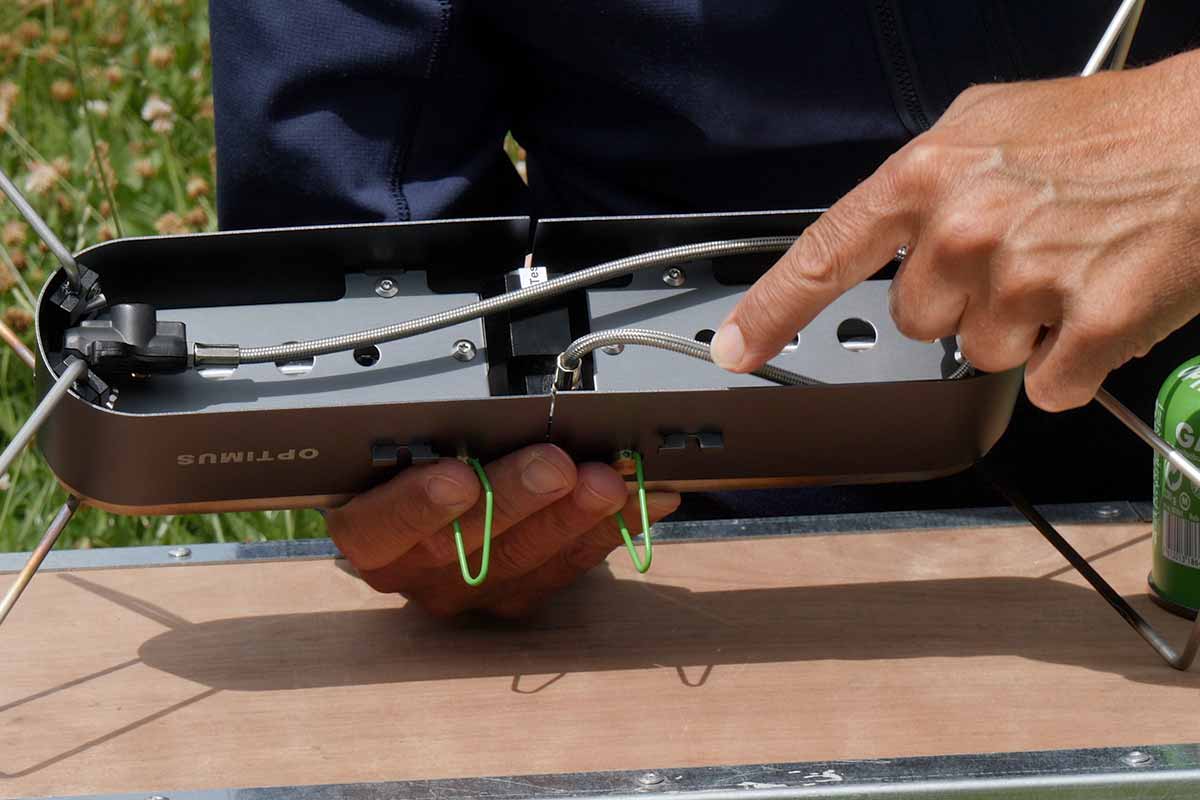
When cooking is done, packing is the opposite procedure of getting started. That means closing the valves, removing the gas canister, locking the ‘paper-clips’ in a ‘secure’ non closed position, folding the legs in and tucking the gas hose in the burner base. The last one is design flaw number 6. When I do this I feel quite some resistance from the gas hose where it enters the base. The bend is quite sharp and I don’t feel comfortable doing this. Better would have been a solid free rotating 90 degrees pipe to prevent this sharp bend. Also a clip for the connector on the inside would make sense. When this is done: put it in the pouch that is well made but a bit too small to fit the wide legs easily.
Verdict
If you have taken the time to read the complete review, you will get that I am not very enthusiastic about the optimus Gemini. I do regret this since I had high hopes for the stove since I miss a decent lightweight two stove setup.
The positive things are the low weight, the compact packed size and the fact that it is a stable platform for two rather big pots or frying pans. Boiling times and gas consumption are fine: with 3 minutes and 29 seconds and 11,4 grams of gas for 1 liter of water it’s a pretty energy friendly stove.
On the downside are the design flaws or design mistakes. I counted six varying from regulators that are not closed when stored to the missing of a general regulator to cancel the flow of gas to the hose and the burners. The gas hose failure might be my fault but I can’t guarantee that this will not happen to others.
In practice it is not that easy to use either. It needs a flat surface, the regulators are not that user friendly and the gas dosage itself takes a lot of turning. The Optimus Gemini retails for € 194,95 and that is serious money for a rather basic stove that does not even come with a fixed piezo.
All in all I would not advise you to buy the Optimus Gemini unless you are always very thorough in procedures. In my outdoor life I am very conscious about what I do, but mistakes do happen. The missing of a general regulator has proven to be a major flaw to me and therefore I rate the Optimus Gemini at 5 out of 10 points.
Information
International: www.katadyngroup.com/
For the Dutch: www.robijns.nl
Comment Optimus
Thanks for taking the time to talk on Monday, to provide some background on your Optimus Gemini Review. Also, many thanks for the review and for reaching out, despite the devastating verdict.
Respectfully, we take all reviews seriously and welcome them as feedback for product improvement.
When we designed the Optimus Gemini, we wanted to bring the pleasure of preparing a full meal to those who need to keep weight and bulk to a minimum.
It is not designed with the intention to replace the large outdoor kitchen gas stoves for base camp use.
I understand your perception on “control handle closed position”, “yellow sticker”, and “manual”,
– Control handle closed position
This is in line with our existing stove models that “park” in an open position. Needle valves are prone to cold welding of metal spindles or compression of o-rings. Which harms the longevity of the stove.
By designing an open “park” position we assure that the valve will operate flawlessly for a very long time.
– Yellow sticker
The yellow sticker was added to provide a quick safety reference. Thank you for pointing out that the printing is not permanent enough.
We were able to reproduce rubbing off the ink after peeling off the label. We will revise the specifications for the label to solve the issue.
– Manual references
It is understood that you expect clearer communication of most relevant device specific safety instructions. It is also our experience that manuals are often not read. Most of the warning text in a manual is required by the various gas appliance regulations and the important messages get easily lost in the large amount of required regulatory text. We prefer visual instructions like the yellow label. We are reviewing the yellow tag or other means to see how we can add clear instruction on the cartridge placement and orientation.
Finally, the incident with the damaged tube must be addressed. What your test demonstrates is that remote canister stoves can, in unfortunate cases, suffer heat induced melting of the tube, leading to a leak. The reason is that the flexible tube provides a range of motion within periphery of the burner flame. As a remote canister stove, Gemini is exposed to this risk. Especially because of its reduced footprint. Factors that can amplify the negative effect in the application are positioning of the canister stand, pot/pan type (e.g., no heat exchanger), and canister type (height of 450 g cartridge). The flexible metal braided hose offers superior heat resistance, but we did not expect it to be in direct contact with the flame.
I believe we agree that this residual risk is not isolated to Optimus Gemini, but to be found in most devices with flexible gas tube (stove, barbecue, torch, etc.). However, what you specifically are pointing out is, that the gas can not be turned off with an on/off switch at the canister. The only option you had to stop gas flow is to unscrew the canister. It is technically possible to add a on/off valve to the gas canister connector. However, this is a design review which needs proper testing an 3rd party approval.
