- Size: 68 litre (78 cm x 37 cm x 37 cm)
- Weight: 1.92 kg (Men 1.78 kg, Ladies 1.76kg claimed)
- Price: € 200.00
The Osprey Kestrel 68 is a rugged trekking backpack with a volume of 68 litres and the close contact AirScape backpanel. Read the review or watch the video!
Size and weight
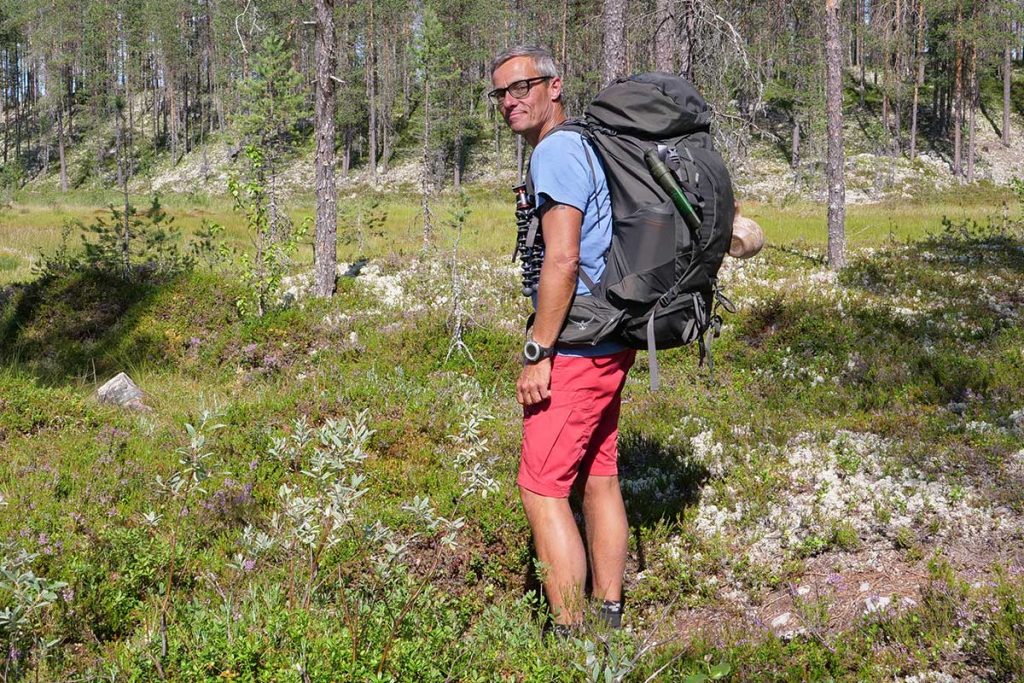
The Osprey Kestrel 68 is mainly made from thick 210 Denier and 630 Denier nylon and it has a volume of 68 litres. This is a more or less fixed volume. Yes, it is possible to raise the top lid and put some more gear in and on top off the main compartment, but the Kestrel does not feature an adjustable volume main compartment. I weighted the Kestrel 68 at 1920 grams on my price posting scale and that is a little more than the 1780 grams Ospreys claims. I am testing the M/L version. Later more on the sizing.
Kestrel family
The Osprey Kestrel family has three other backpacks and the Kestrel 68 is the largest one. If you are looking for something smaller you got the choice starting with the Kestrel 38. The two in between brothers are the Kestrel 48 and Kestrel 58. The Kestrel series is a male backpack. The female specific version is the Osprey Kyte 66 that also is build around the AirScape backsystem.
Carrying system
The last couple of years Osprey has become famous with the introduction of the AntiGravity carrying system. Yes it is a super system but is has it’s downsides too. One of the things I don’t always like is the hip belt that wraps around you and is hard to fold away to the side when putting the backpack on. More on the AntiGravity carrying system in the review of the Osprey Atmos 50AG. The AirScape carrying system on the Kestrel 68 is a backpanel to my liking. I like packs with carrying systems that are close to my back and can be put on without a lot of hassle; the Osprey Kestrel 68 is one of them.
Osprey Kestrel 68 AirScape
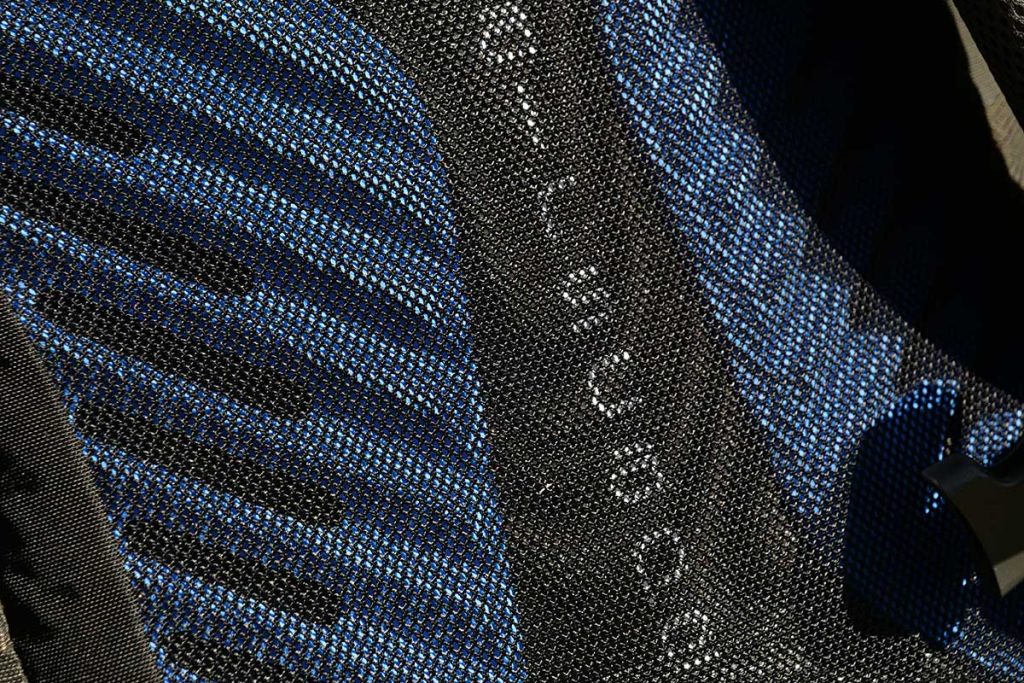
The AirScape carrying system is build around the AirScape backpanel. This backpanel is slightly S-curved to follow the shape of my – and your – back and is also a bit ‘hollow’ at the place where the shoulder blades meet. The panel has foam ridges. The ridges are covered with a fine mesh and except from the ridges in the lumbar they are perforated also. The combination makes a backpanel that sits close to the body and delivers a fair amount of ventilation too. For me the first is the more important one though. On the inside a steel wire frame supports the backpanel.
Adjustable back length
I promised to get back on the sizing. The Kestrel 68 is available in two sizes: S/M for back lengths from 41 cm to 51 cm and the M/L that goes from 48 cm to 58 cm. With my 1.69 meters I have a back length of 48 cm so I am on the verge between the two but the bigger one seams to work for me. The adjustment system works pretty straightforward. The shoulder straps are connected to the backpanel with a large piece (18 x 23 cm) of Velcro. Loose it and I can adjust the shoulder straps to my back length. The Velcro does not loosen itself when wearing a fully loaded Kestrel.

Hip belt
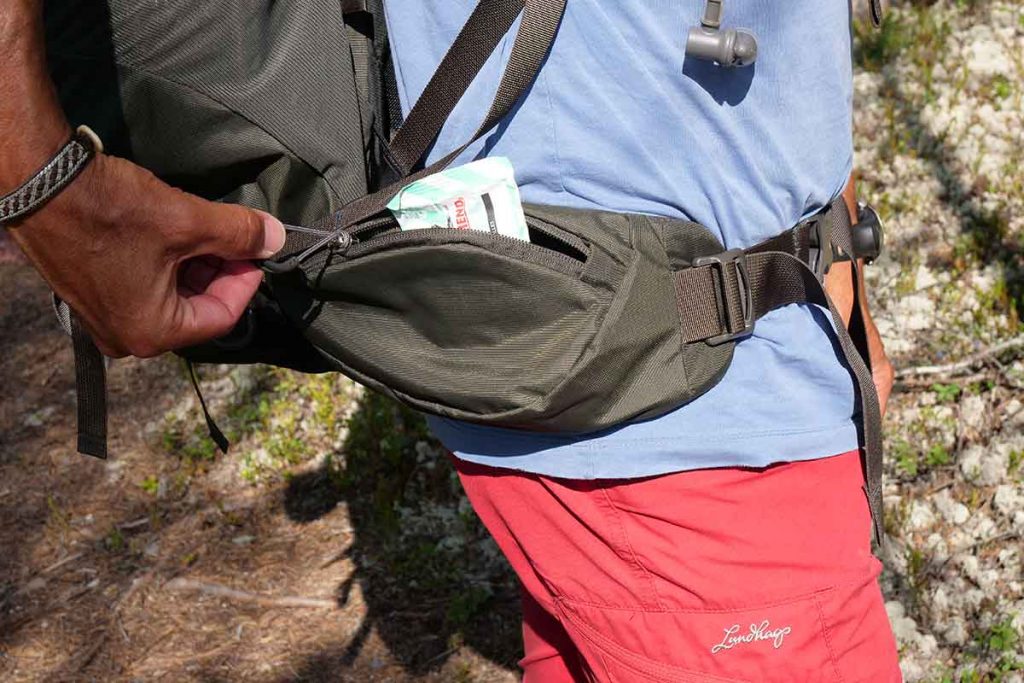
Totally different from the Atmos is the construction of the Kestrel hip belt. The hip belt is not ridged and folds easy to the side when putting on the pack. There is a second reason/advantage for this, but be patient… The hip belt has foam that is pretty firm but still comfortable. The hip belt can be adjusted with straps that are connected to the suitcase opening of the Kestrel. The maximum diameter of the hip belt is approx. 125 cm, the minimum is approx. 75 cm. On the hip belt there are two large zippered pockets with large pulling tabs. The pockets fit small compact cameras and an iPhone Plus size smartphone. But be careful: there can be a lot of pressure on the hip belt pockets.
Shoulder straps & ‘Stow-on-the-Go’
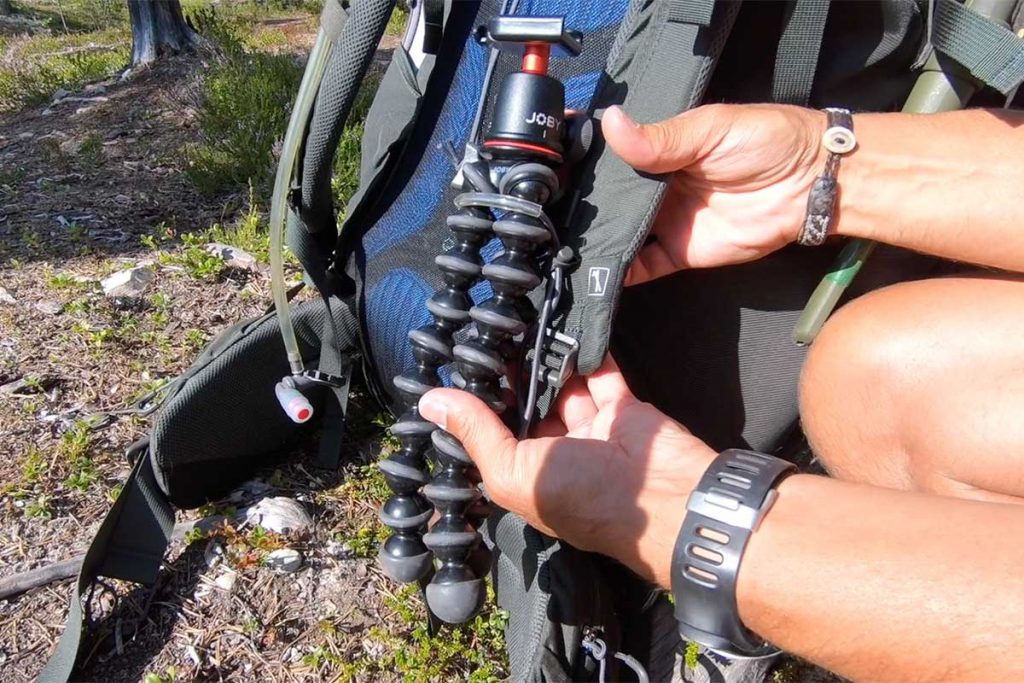
It took me some time to get used to the quite firm shoulder straps and the fabric that capsules the foam. In the beginning it was a bit on the harsh side for my collarbones, just wearing a T-shirt. The shoulder straps have a good fit and thanks to the load lifters I can adjust the pack to each hiking situation: level, uphill or downhill. The shoulder straps are connected with a good adjustable sternum strap and the buckle has an emergency whistle. Functional elastic loops on the straps guide the hose of the hydration pack. This one is situated between the backpanel and the main compartment and has a drainage hole if you spill some water. Nice feature on the left shoulder strap is the ‘Stow-on-the-Go’ trekking pole attachment. It provides easy and fast storage for compact lightweight poles.
Main compartment
The biggest compartment of the Osprey Kestrel 68 is of course the main compartment. This compartment is accessible from the top but also from the bottom and from the front. The top opening is large so getting my gear in – in different coloured dry bags – is easy. A cord with a pulling tab closes this entrance. The main compartment has a large red compression strap to take the pressure of the cord.
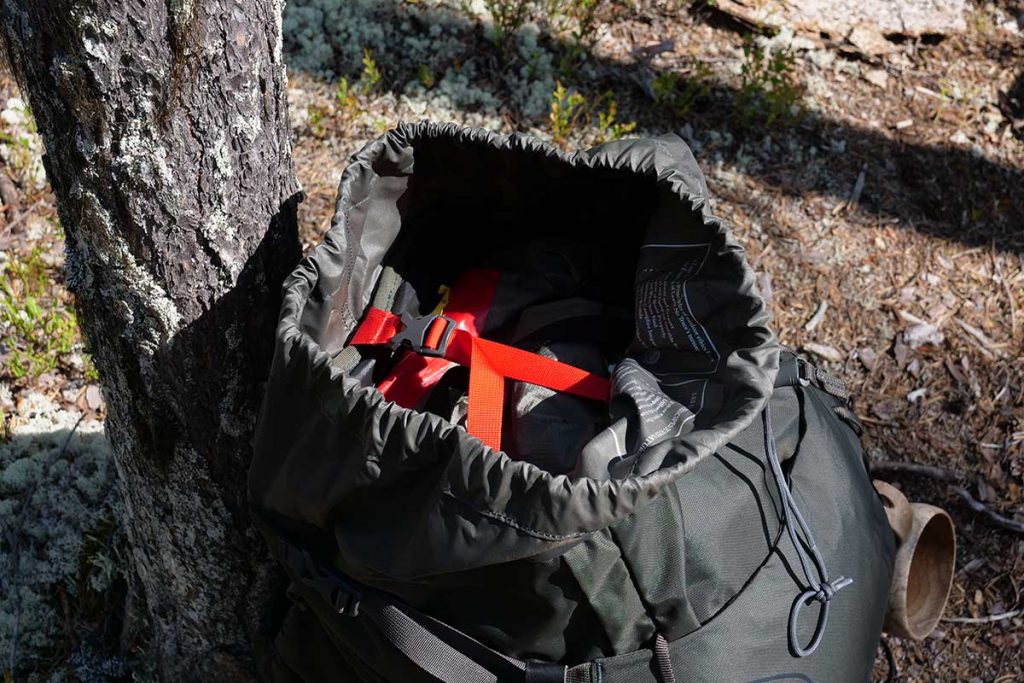
U-Zip suitcase opening
If you are more the suitcase-type you will love the U-Zip suitcase opening that is situated on the front panel. It is a fast and easy way of getting to your stuff. This is the second reason why the hip belt folds away easily; otherwise it would not be possible to lay the backpack on it’s back. In fine weather I like this opening too. But – be aware – if the weather is foul and you do this outdoors, the shoulder straps and backpanel will get very dirty. The good thing is that the suitcase opening has a big, robust YKK zipper with a large pulling cord. The latter makes it very useable with cold hands and gloves. The lid has a pocket with flexible mesh on the side and a drainage hole. A nice place to store a wet (or dry) hardshell. On the lid you’ll find 8-loops for carabiners or other gear you want to attach to the pack. Four very sturdy compression straps on the suitcase lid take the pressure of the zipper when fully packed.
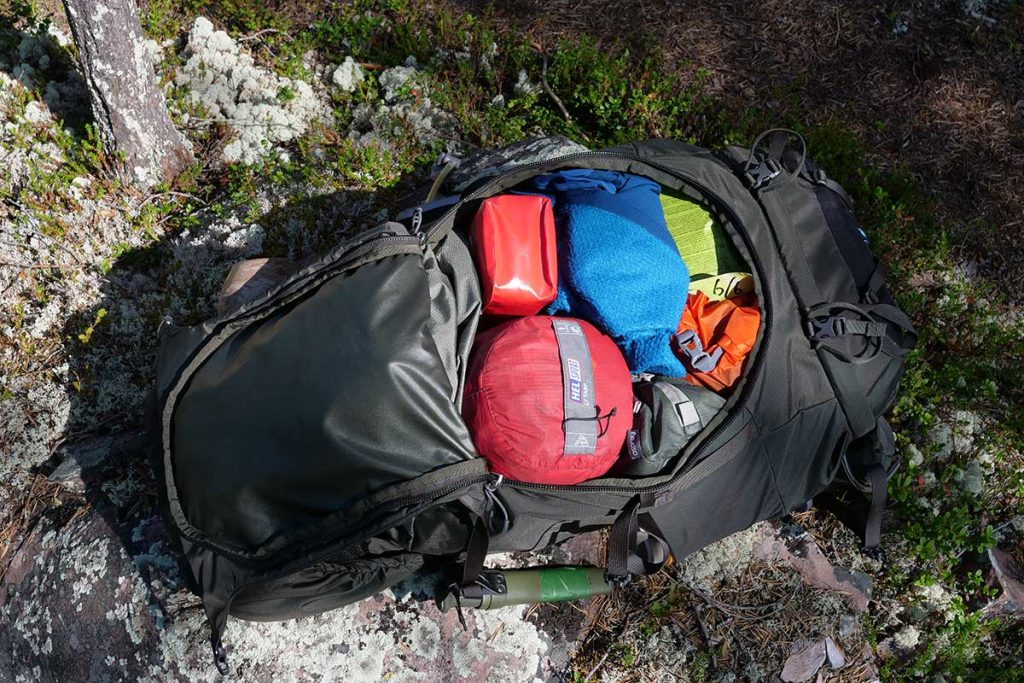
Sleeping bag compartment
I mentioned that the main compartment is accessible from the bottom too. Well… I didn’t lie but it is not totally true. At the bottom there is a big zipper and flap so I can fit a sleeping bag in the bottom of the pack. This sleeping bag compartment is divided from the main compartment by an internal divider. With de divider in place the main compartment is divided in approx. 1/3 (bottom) and 2/3 (top). Loosen the straps of the divider and you get one big compartment. I like dividers. But I like dividers with a zipper-construction more because this really separates both compartments totally. With strap dividers I sometimes ‘loose’ stuff I put in the top and that ends up somehow underneath the divider. Not a big deal but a choice you have to make.
Top lid
The top lid of the Kestrel 68 is attached to the pack with two straps on the back and two on two straps with clips on the front. The straps are long enough so I can put a tent under the top lid. It would have been nice if there were a compression strap to secure the tent or anything else that you put under the top lid. The top lid has one large compartment on the outside. It is accessible with a zipper that is situated on the head side so that is pretty secure. On the inside of the top lid there is a second compartment. This is a mesh one, has a zipper and a key ring holder.
Nerdy bully
And now I feel a bit like a nerdy bully but the plastic key ring holder is crap. The plastic has a lip to make unhooking easy and that is not how it should be. Just by the sheer weight of the keys the key ring holder unhooks the keys. It happened to me a few times that I found my keys loose in the pocket. So Osprey: make a better one! In the mean time: connect your keys with a ring to the loop or buy a mini caribiner and use that instead of the plastic thingy.
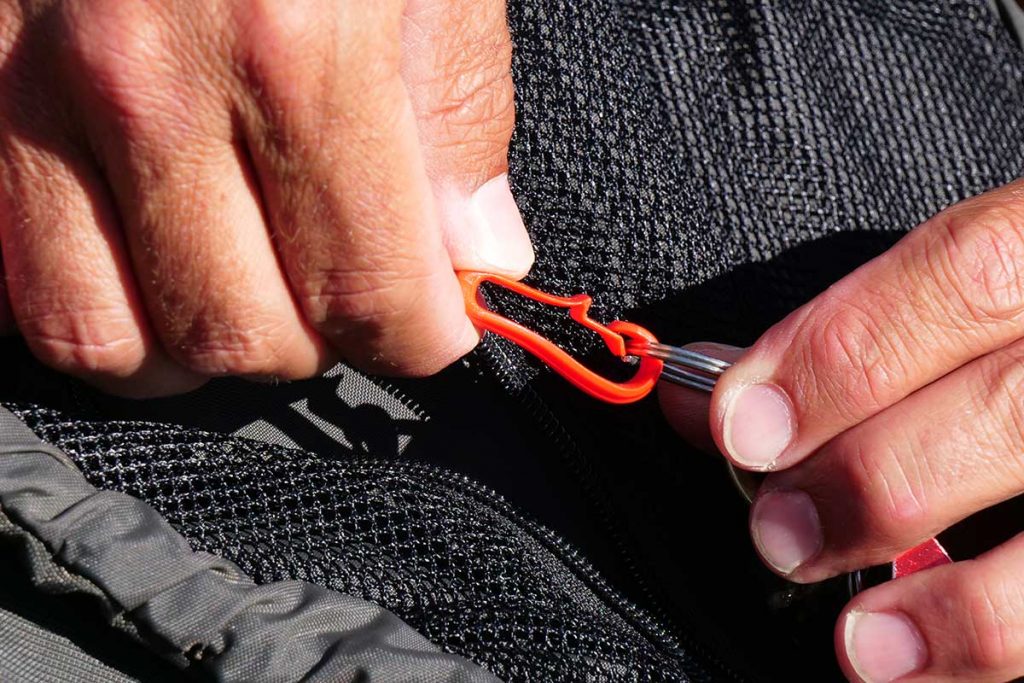
Side pockets
One of the things I liked a lot on the Osprey Atmos 50AG I reviewed last year were the very flexible mesh side pockets with dual access. Dual access means I can put stuff in from the top but also from the front. The last I love because it is very easy to take a bottle out of the pocket and getting it back in likewise. But the side pockets are also a great place to store wet stuff or a tent in combination with the compression straps higher up the pack. One thing I don’t understand is a small sentence on the Osprey Kestrel webpage. It states ‘Dual access fabric side pockets with InsideOut compression cord’. Well ‘my’ pack doesn’t have this feature and also the Osprey pictures don’t show this. I know is was a feature on the – for example – Talon-series and prevents stuff falling out of the pockets when upside-down. In the Kestrel 68 nothing fell out of the side pockets.
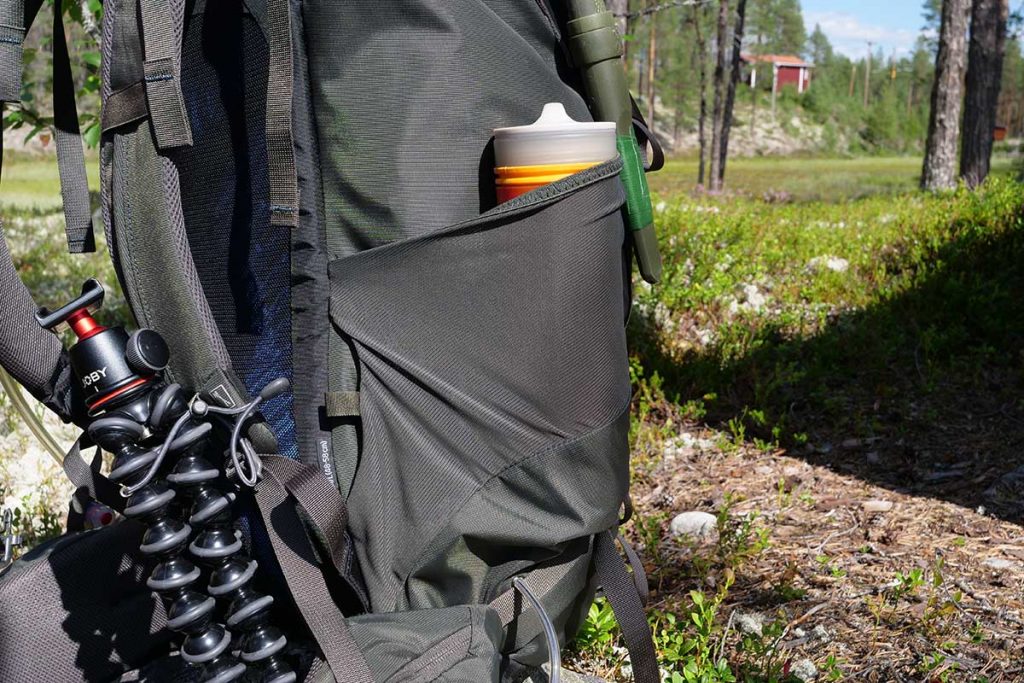
The mesh pockets on the side can be used from above or… 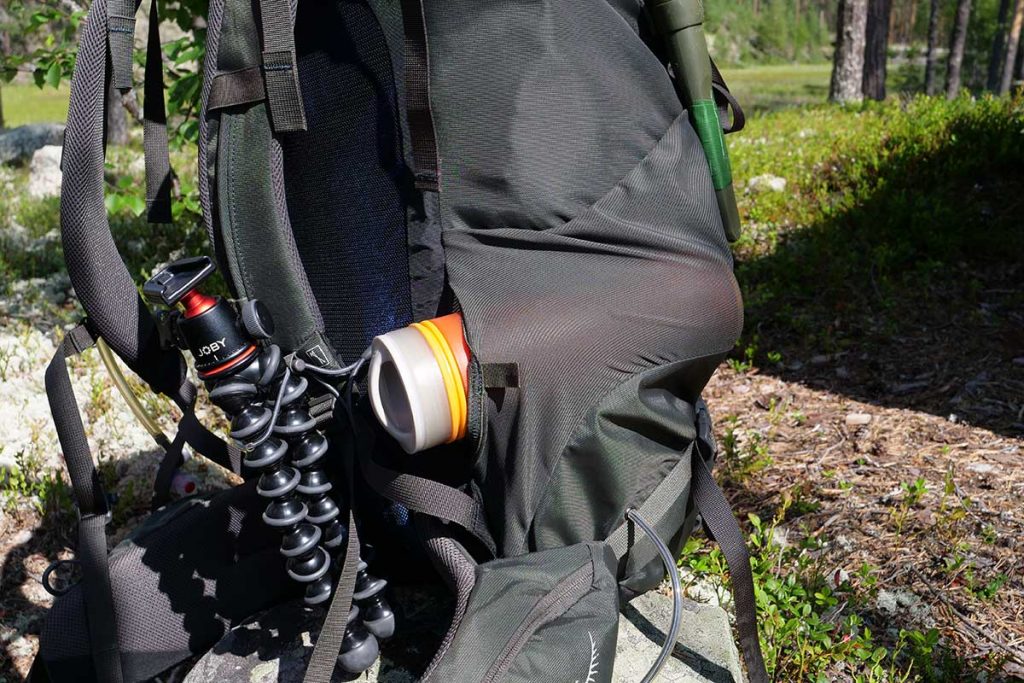
…as a pistol holder.
Raincover
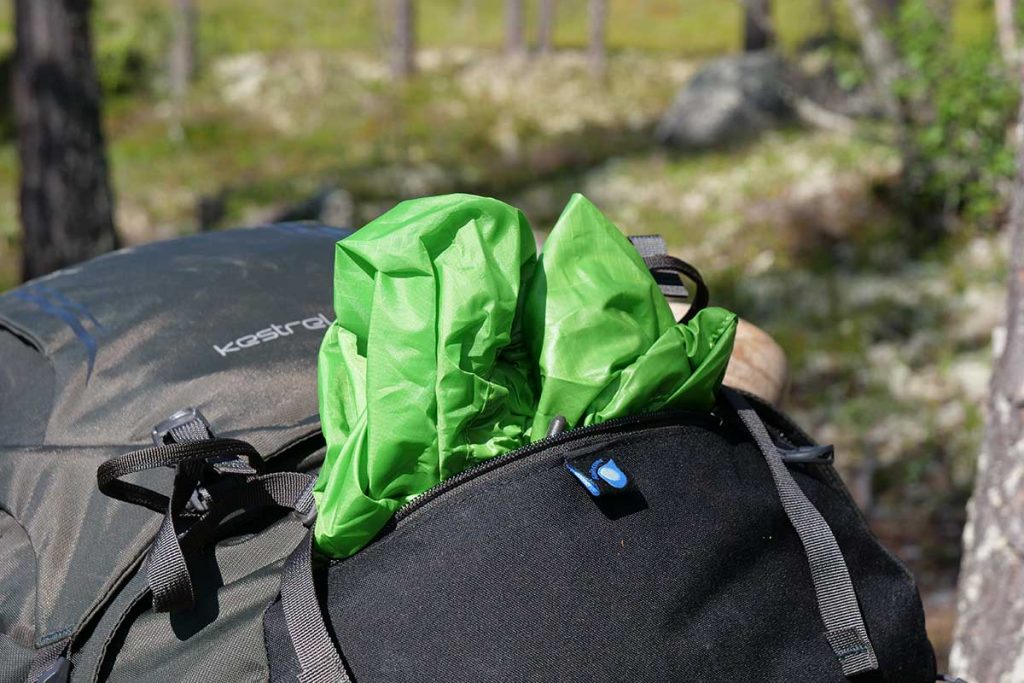
Underneath the Sleeping bag compartment a fairly nice raincover is hidden behind a zipper in a pocket with drainage hole. Fairly nice because I think a rain cover should be bright orange or at least reflective. This one is green without reflection. So… The raincover is hard to see in a green nature environment and in the nighttime walking on or next to a country lane in the rain. Not me!
Ice axes and sleeping pad
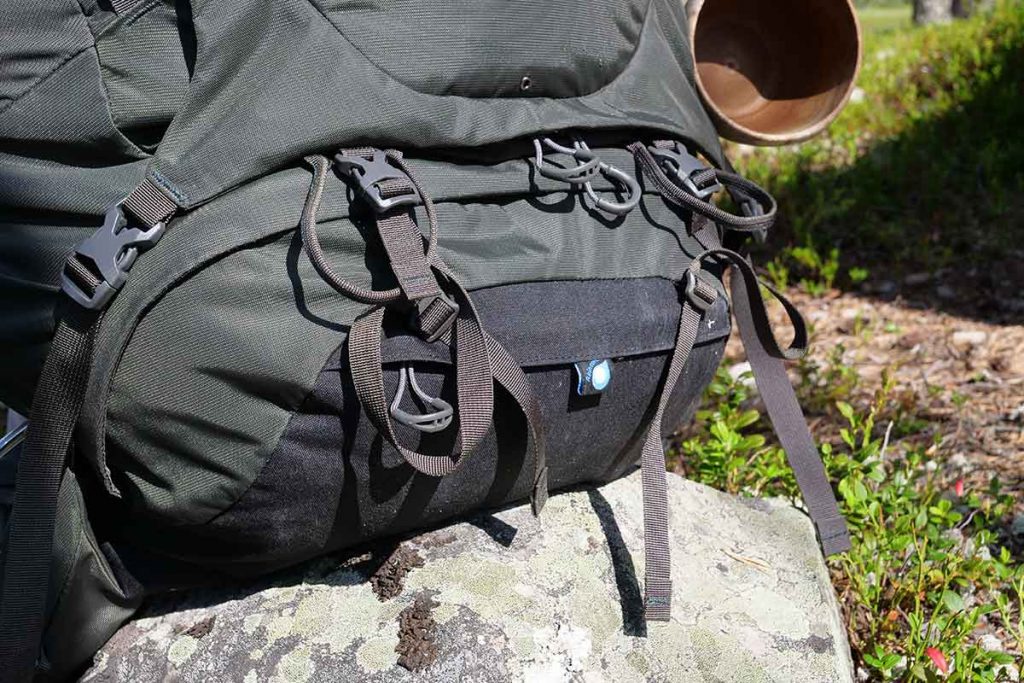
On the front side of the Kestrel there are two loops for the attachment of ice axes and not so compact trekking poles. For the fixation higher on the pack you need to use the compression straps and that works fine. At the bottom rear of the pack there are two removable straps especially for the attachment of the wider foam sleeping pads. Or if you don’t fold it a self inflatable fits too.
Sustainability
I am a member of the Scandinavian Outdoor Awards for 10 years now and since last year I have been invited twice for the Outdoor by ISPO Awards. On both jury’s we take sustainability very serious. And it is one of the things I take in to account in my rating. A lot of brands are dealing with sustainability. I look at in two ways: 1) Sustainable production 2) Sustainable – long lasting – products. The best is a combination of both but that is not always possible. Osprey is at the moment not disclosing a lot on there sustainability efforts except for a small statement on the ‘Leave no trace principles’ in the Kestrel pack and an ‘Environmental Message’ on the website. The first remark Osprey makes is my second remark from above and I like it. Products that don’t last are not worth producing. But… Talking to Osprey on the last ISPO tradeshow they told me that they are working hard on getting more sustainable in a few years. The first visible packs are the Archeon series in Summer 2020 . Have a look at the ISPO video I made. Osprey starts at 09:16.
Verdict
The Osprey Kestrel 68 was sent to me in Fall 2018 so I had a decent time with it. The pack has proven to be robust and nothing has broken and in that respect it is sustainable. It has also proven to be a practical backpack because of all it’s pockets and the ways to get in to them. I even like the suitcase opening although if I would buy a pack for trekking adventures I would buy one without it. But if you want one for all your adventures you will be happy with this pack. The AirScape carrying system is comfortable and takes a lot of weight. I tested the backpack with 15 kg max. I don’t do more since I am small, but up to 20 kg if you are a bigger should not be a problem. The weight of the pack is fine. I love the side-pockets and the ‘Stow-on-the-Go’ trekking pole attachment. Improvements I’d like to see are an orange and reflective raincover, a decent key ring holder and – very personal – a divider with a zip. The Osprey Kestrel 68 retails for € 200.00 and that is a fair price for a fully loaded backpack. Even with my criticism on small details and therefor I rate the Osprey Kestrel 68 at 9.1 out of 10 total.
Information: www.ospreyeurope.com
TIP: How to measure your back length?
Big question: how do you measure your back length? Simple. There are two methods.
- Method 1: Measure by hand. The first measuring point is the 7th vertebra or C7. This is the bumpy bone in your neck when you tilt your head forward. The second point you determine by putting your hands on your hipbones. ‘Draw’ a line between the two of them en the second point is in the middle of this (almost) horizontal line. The distance between point 1 and 2 is your back length. And… Yes, you can’t do this alone so ask a friend (or a shop employee) to help you.
- Method 2: Download the Osprey PackSizer 2.0 app. In three simple steps you are guided through the fitting process and it works like a treat. And yes… you need someone to help too.
