- Weight: 249 grams
- Size: 145X90X62 mm
- Price: € 859,00
For the last couple of months I have been testing the new DJI Mini 3 Pro camera drone. Will it replace my DJI Mini 2 and DJI Air 2S? Enjoy the review!
Let me start with a little bit on the background of this review. Back in 2019 I bought a DJI Mavic Pro camera drone. The reason was mainly not because I needed it but because I wanted to put different shots in my review videos. Back in the day the Mavic was outstanding. I tracked me while walking or biking and even driving the Toyota Landcruiser. The obstacle avoidance was top notch… at that time. Then the DJI Air came to market; I was still happy with the Mavic.
Then the DJI Air 2 was released and the technology gap between my Mavic Pro and the Air 2 seemed big. DJI and I talked and they sent an Air 2 for review. That review – you will find it here – did not make me buy an Air 2. A little while later DJI released the DJI Air 2S. That one I bought since it was so much better than the Mavic Pro.
On a trip to Switzerland to shoot a lot of B-roll shots the Air 2S had an engine failure in mid flight. It landed on the rocks and needed to be repaired bij DJI. To save the trip I bought at a local shop a DJI Mini 2; the Air2S was not available and the Mini 2 would extend my camera portfolio since it weighs less than 250 grams and other rules apply.
That trip opened my eyes. The DJI Mini 2 was way more capable than I thought it would be. It flew with over 35 km/h winds and made amazing shots when hiking the Schilthorn with my youngest daughter. Because of its small packed size, its weight and the fact that it has proven to be a very capable drone, I often prefer it above the DJI Air 2S; that was excellently repaired by DJI by the way. Their service is super.
When I write ‘mostly’ I mean that there are two scenarios that I do need the DJI Air 2S. The first is that it tracks me and that is something the DJI Mini 2 does not do. The other is when I need obstacle avoidance. You will understand that both are connected: when you track a moving person or object, obstacle avoidance is a must.
With the introduction of the DJI Mini 3 Pro the Chinese company – that DJI is – gave me a challenge. The Mini 3 Pro has full tracking capabilities and obstacle avoidance almost like the bigger drones and is still very small and under that important 250 gram weight barrier. I asked myself: do I need to buy another drone? I asked DJI if they would let me review the DJI Mini 3 Pro from an outdoor perspective. The answer is in this review.
Size and weight
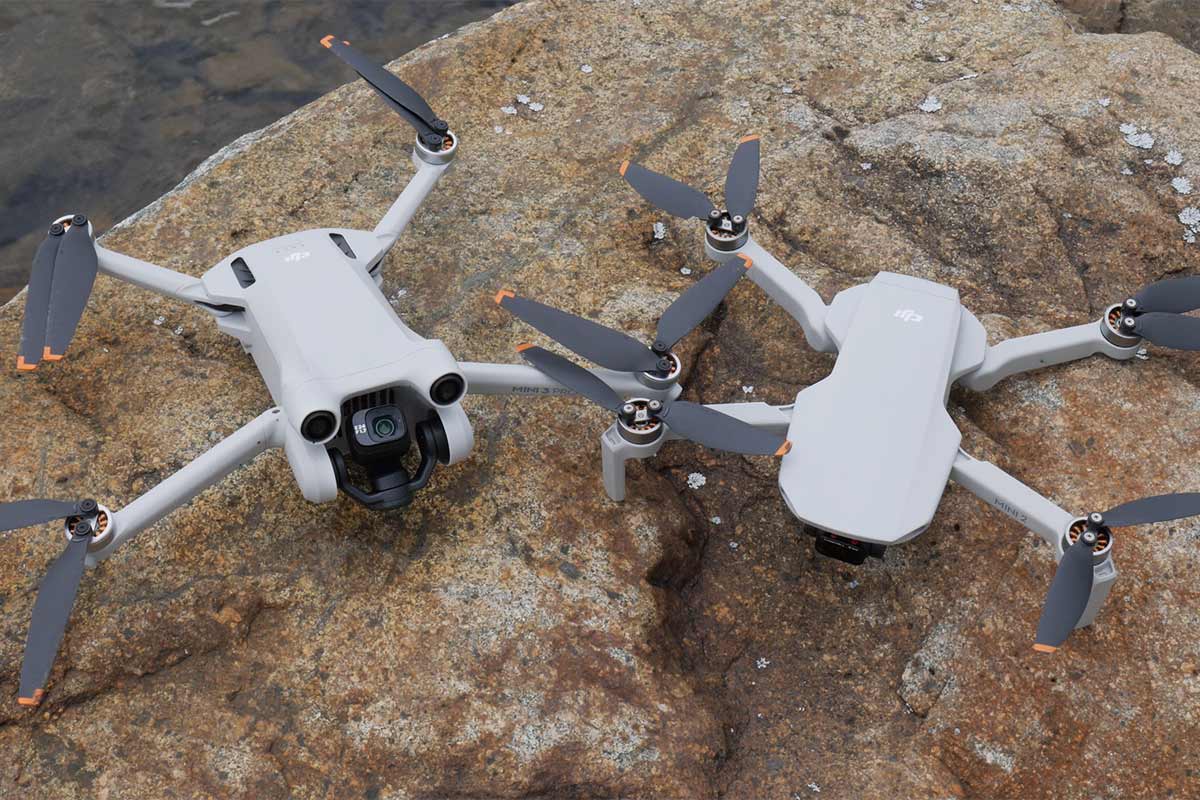
The DJI Mini 3 Pro has a weight of 249 grams according to DJI and I checked it at home and DJI is spot on. The packed size that DJI claims is 145X90X62 mm and I can add nothing to that either. A little bit of comparison is maybe in place. The DJI Mini 2 weighs the same but the packed size is even smaller: 138X81X58 mm. Just for the record: the DJI Air 2S with 595 grams weighs almost twice that of the Mini’s and has a packed size of 180X97X77 mm. The packed volume of the DJI Mini 3 Pro is 809 mm2, the DJI Mini 2 is 648 mm2 and the DJI Air 2S is 1344 mm2. Concluding: the DJI Mini 2 takes the least space inside my backpack.
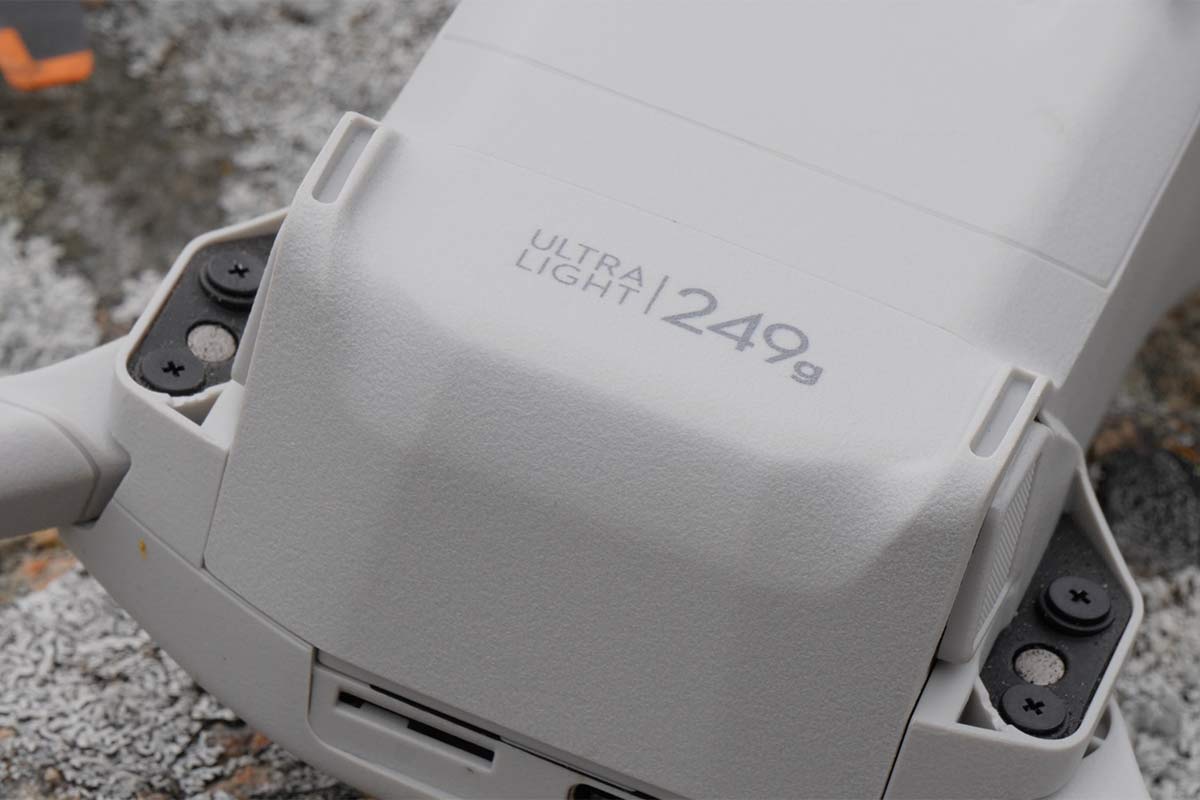
Photo and video specs
The DJI Mini 3 Pro has a 1/1.3” CMOS sensor with 48 MP effective pixels and the DJI Mini 2 has a 1/2.3” CMOS sensor with 12 MP effective pixels. The Air 2S has a 1″ CMOS sensor with 20 MP effective pixels. Does this mean the Mini 3 Pro outperforms the other two? I guess yes.
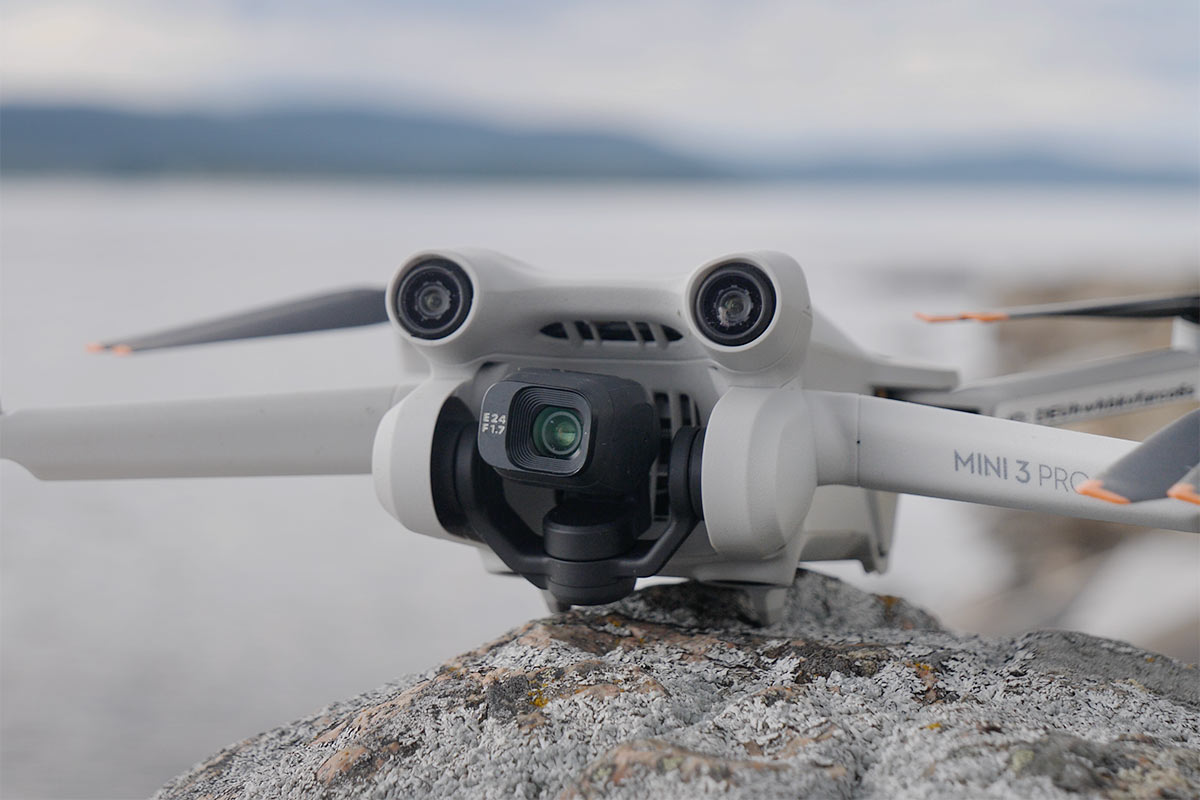
There are a few more interesting remarks to make about the camera on board the Mini 3 Pro. In the first place it has an ISO of 6400, just like the bigger Air 2S (that one does in photo even ISO 12800). The Mini 2 only does ISO 3200. The 3 Pro has an aperture of f/1.7 while the other two have an aperture of f/2.8. This means that the Mini 3 Pro should perform better in low light circumstances.
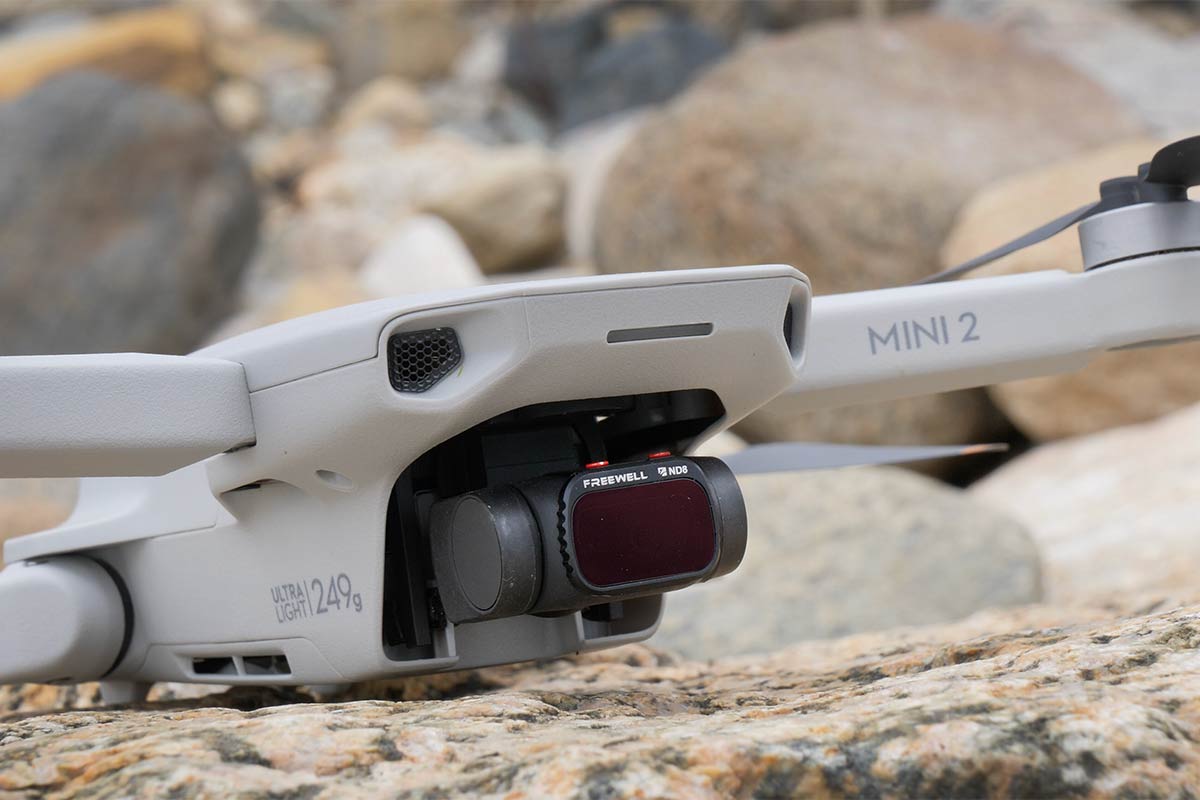
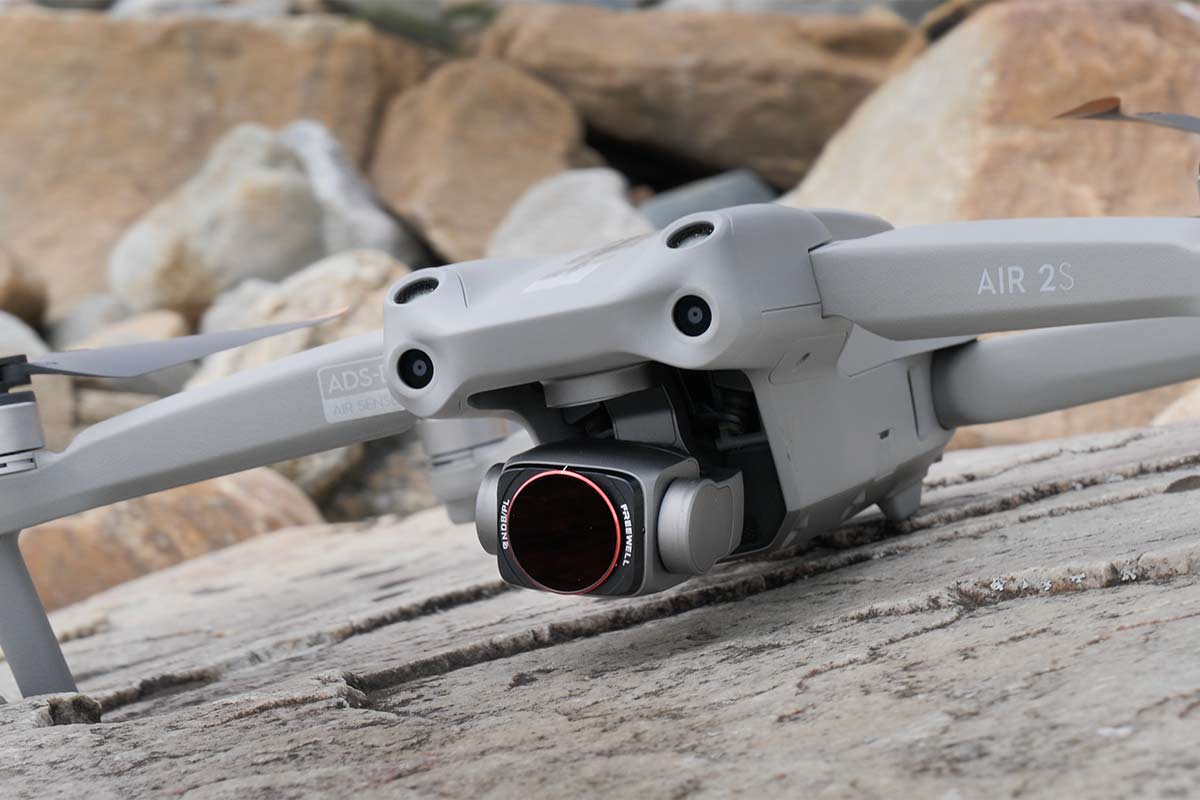
Regarding video format the DJI Mini 3 Pro supports MP4/MOV/H.264 and H.265. The Mini 2 does not support H.265. The Air 2S does a bit more: MP4/MOV/H.264/MPEG-4 AVC and H.265/HEVC. All three shoot photo’s in JPEG and RAW. Also the Mini 3 Pro is the only one that shoots in 4K/30 fps in HDR. For more specs I advise you to follow the comparison link at the bottom of this article.
The gimbal camera has the possibility to turn 90°C so it shoots vertical images. Nice for Instagram stories!
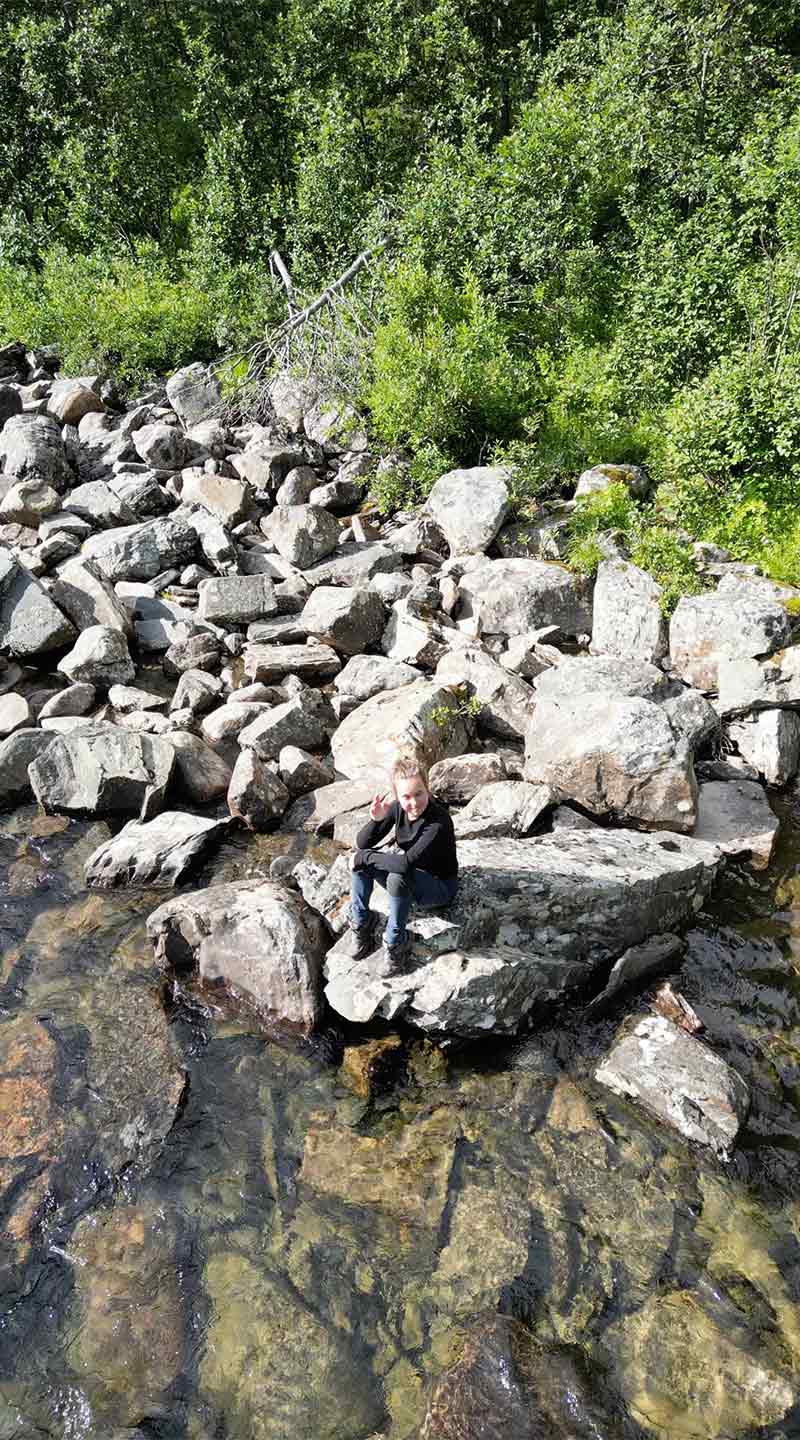
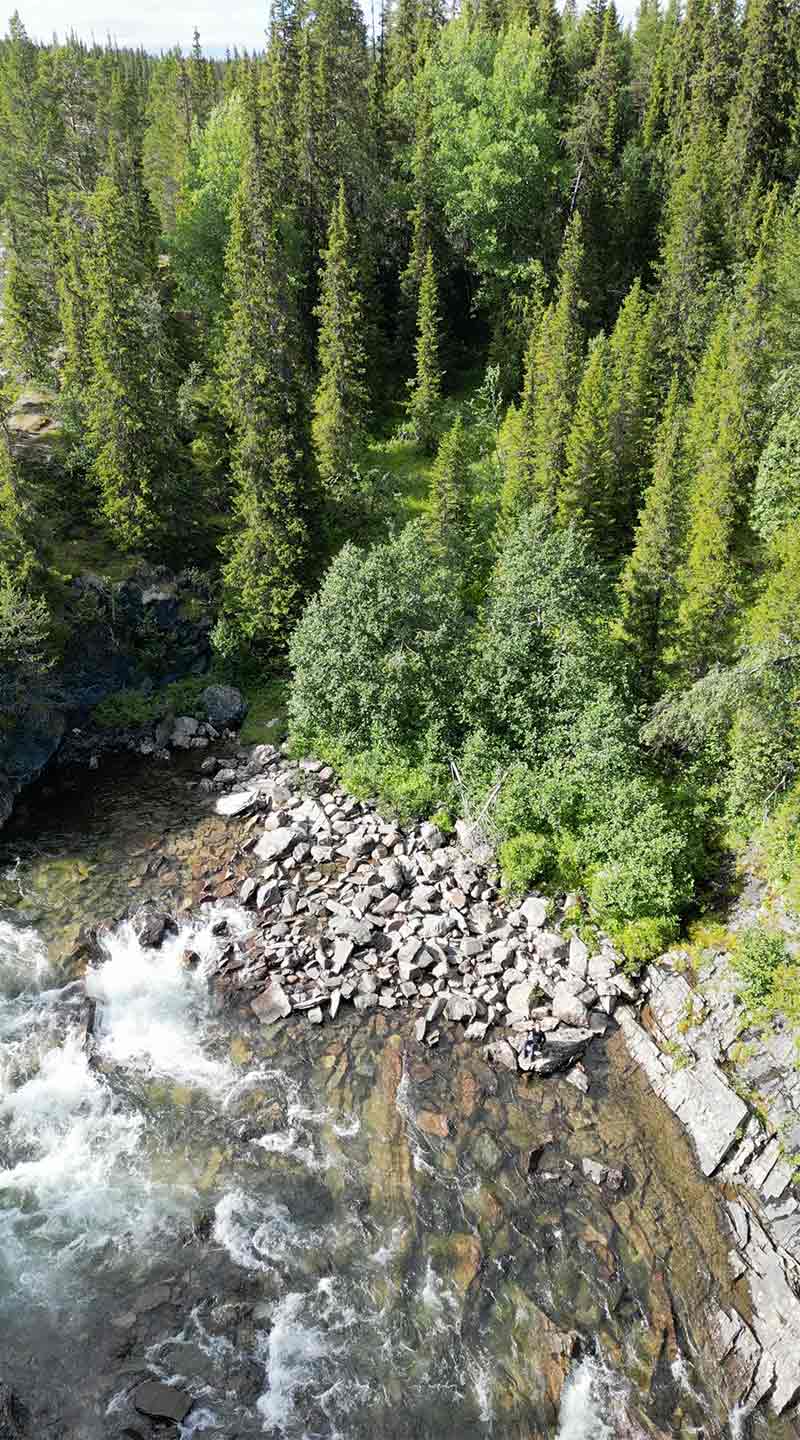
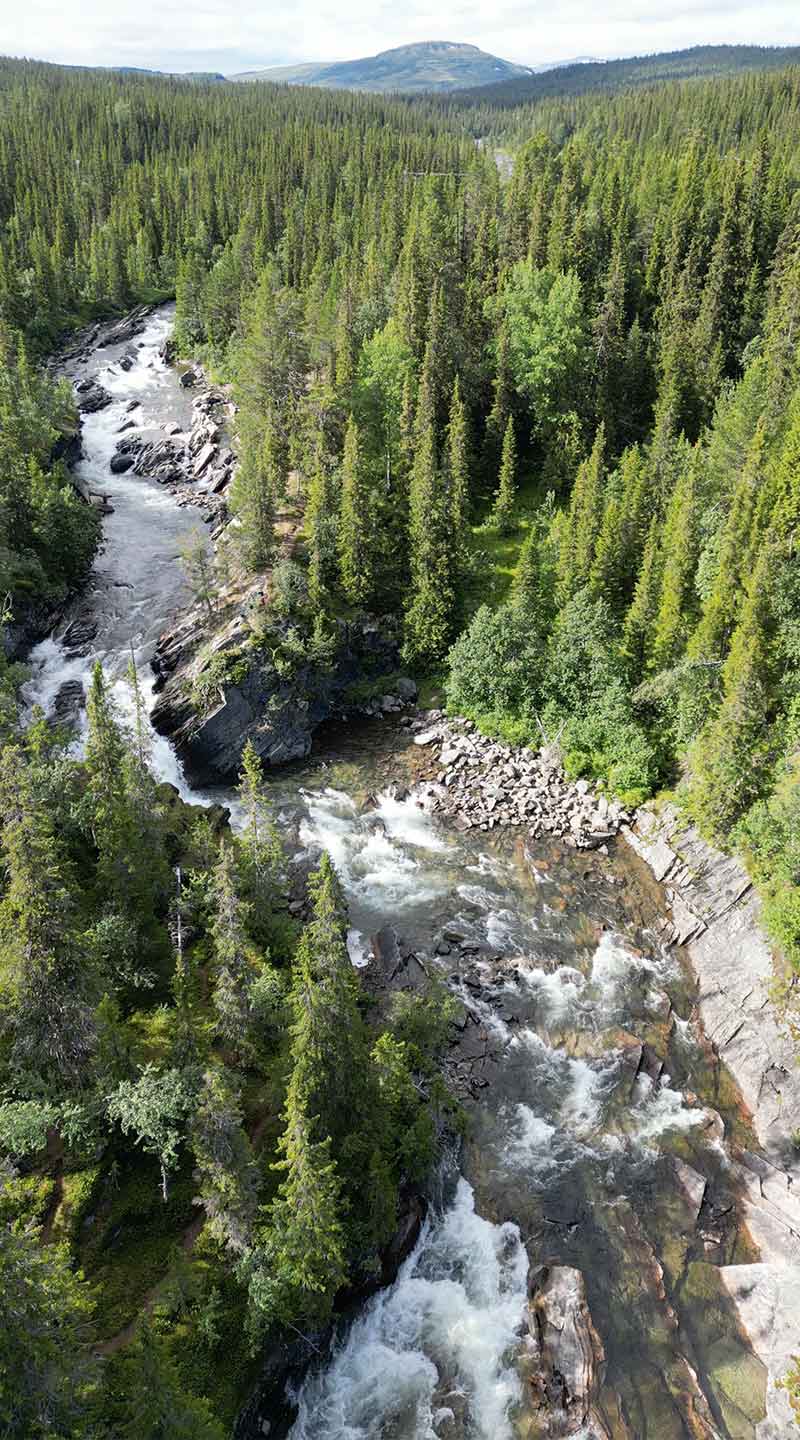
In normal horizontal mode it also has the possibility to fly lower than the object and still shoot video since the gimbal camera has no obstruction above it.
Practise
Like any DJI drone they are very user friendly. Remove the cover that protects the gimbal camera, unfold the legs with the propellers, press the on/off button and you are good to go. Ok, switch on the remote too of course and wait until the combination has found the satellites. Before I start about the drone itself, let me say a few words on the remote.
DJI RC remote
When DJI sent the Mini 3 Pro to me they sent me two remotes: the RC-N1 that comes with DJI drones now for a while and the new DJI RC. The RC-N1 uses my smartphone – in my case an iPhone 12 Plus – to work as an intermediate between the RC-N1 ‘joystick’ part and the phone with the DJI Fly app. Since I know this combination works well, I did not test this remote with the Mini 3 Pro. The RC is another ballgame.
The DJI RC is a remote with all the controls (and a few more) from the RC-1N in one big unit with a very nice 1920X1080 5.5 inch display with a 60 fps refresh rate. While testing I came quite soon to the conclusion that I do prefer the RC above the RC-1N. The latter feels very outdated when you have used the RC. The biggest advantage is not primarily the large screen, but not having to go to the hassle of connecting the smartphone. I have always found the telescopic clips that ‘grab’ the phone too small – especially with a case around the smartphone – and the connecting of the USB-C cable is a fiddly proces. Switch on the RC, wait for the connection with the Mini 3 Pro and – again – you’re good to fly.
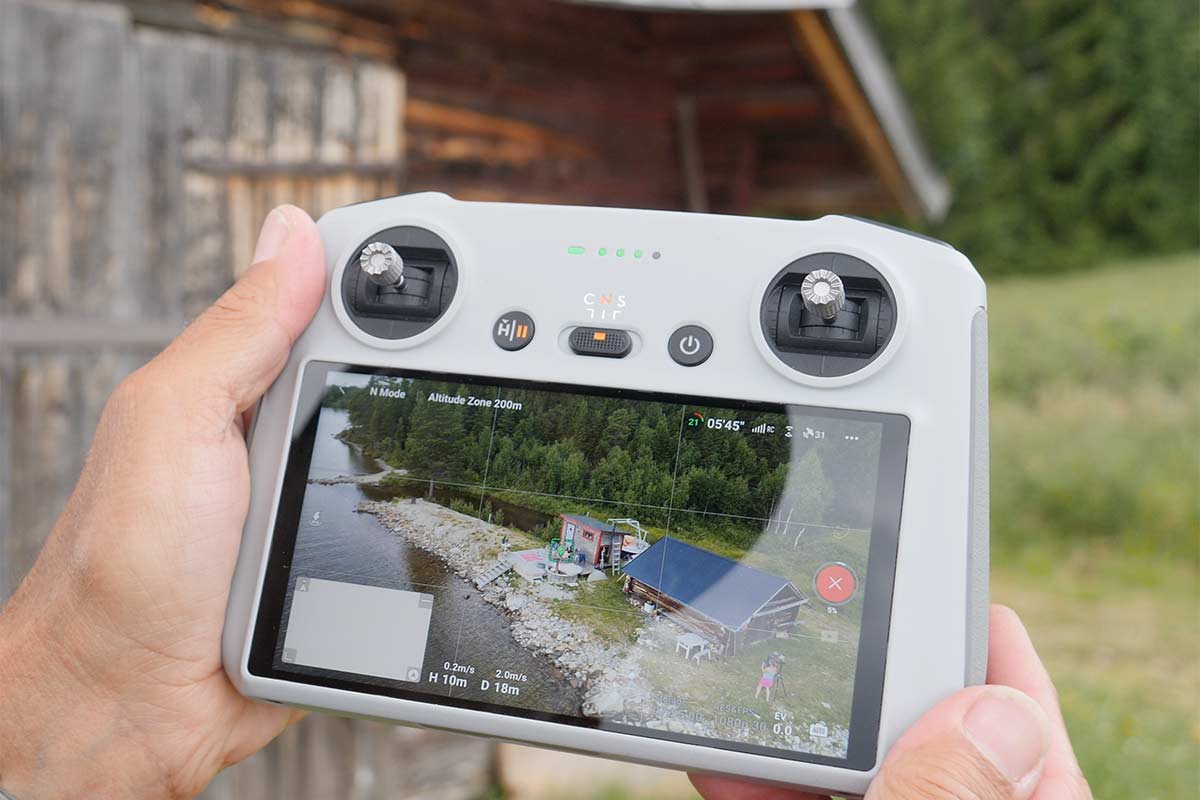
The RC remote is large – the packed size is 168.4X123.7X46.2 mm and 390 grams – but not too large. It fits nicely in my size 7.5 hands. The part that you hold on to is covered in rubber. Super grippy even when wettish. The layout of the RC is sublime. All buttons are big and even very usable with not too thick gloves. This is important since the Mini 3 Pro can be used till -10 °C. The metal detachable joysticks for the thumbs are very grippy just like the wheels that are used for tilting the camera and digital zoom. In the middle between the joysticks you’ll find a switch to switch from Cinema to Normal to Sport; Sport is a fast flying drone and in Cinema it moves more slowly; more cinematic.
The touchscreen shows where I am flying in nice detail. Also using the screen with my fingers is as prompt as my iPhone. With bright sunlight the 700 nits prove adequate. Four green leds indicate how much energy is left in the remote. DJI claims a battery life of 4 hours. Depending on circumstances that seems right; with warm weather at home I had a bit longer and in colder North Sweden a bit shorter. Charging is done by USB-C and next to it is a microSD card slot.
DJI Mini 3 Pro
Getting the Mini 3 Pro in the air is childsplay. The only action that is still fiddly is removing – and placing back after flight – the guard for the gimbal camera.
Once in the air the joysticks are very secure and movements are transmitted instantly to the drone. I am not going to go discuss everything that is possible with the Mini 3 Pro and will stick to the things I actually use mostly for shooting my B-roll footage.
I shoot most of the footage – with the Panasonic GH5’s, the DJI Pocket 2 and the drones – on 4K in 30 fps. It gives me the details and fluidity that I want. I know… 24 fps is maybe more cinematic. Sometimes I shoot in a higher frame rate if I want slow motion. The images that you see in the video are mostly 4K and 30 fps. And there is another reason for sticking to this: the tracking is not supported above the 30 fps in 4K. Since I do a lot all by myself tracking myself is the reason why I use the drone mostly.
Focus Track or how to stay in the frame
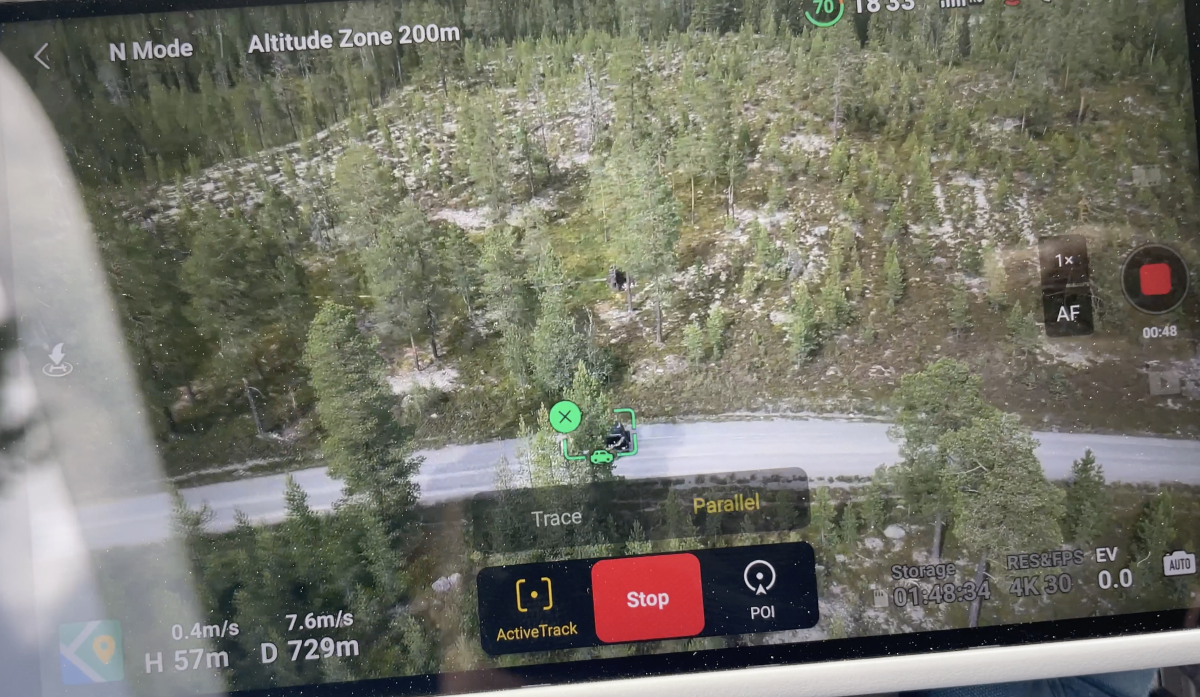
Focus Track is the name for three types of tracking that the DJI Mini 3 Pro is able to perform and it is pretty simple to use. Put the drone in the air, put the object in the frame and draw on the screen a box around it. When the drone got the object hooked a green square or rectangle will be around it. In the bottom of the screen you get a couple of choices on how you want to track the object.
ActiveTrack 4.0 is the DJI technology to follow a moving object. In my case it is me or the family hiking or the car driving in beautiful scenery. The nice thing is that the DJI recognizes if the object is a person or a car. You will see the symbol on screen. In ActiveTrack you have two possibilities: chase or parallel mode. Later more on how I use it.
Point of Interest 3.0 is the second Focus Track option. The startup method is the same as Active Track but in POI Mode the drone will circle around an object at a radius and speed that you set on screen.
Spotlight 2.0 is the third option. Again the same selection object method and now the drone will keep the object in the frame while you fly the drone manually.
Next to the Focus Track the drone has some more tricks up its sleeve: Quickshots and Mastershots.
Mastershots, Quickshots and Hyperlapse.
MasterShots is a way of creating short aerial movies. The drone will keep the object in the frame while it performs a sequence of moves that are predefined.
QuickShots is a way of getting nice footage very fast and easy. Just press the symbol of the footage you would like and the drone does the rest. You have got a choice of six predefined shots:
- Dronie: The drone flies back and up with the camera locked on the subject.
- Helix: The drone flies up and spirals around the subject.
- Rocket: The drone flies straight up with the camera facing down.
- Circle: The drone circles around the subject and looks almost similar to POI.
- Boomerang: The drone flies around the subject in an oval path. It ascends when flying away and descents as it returns.
- Asteroid: This is the most gimmickry shot since the drone creates a shot that begins as a sphere panorama high above the subject and ends with a normal shot hovering near the subject.
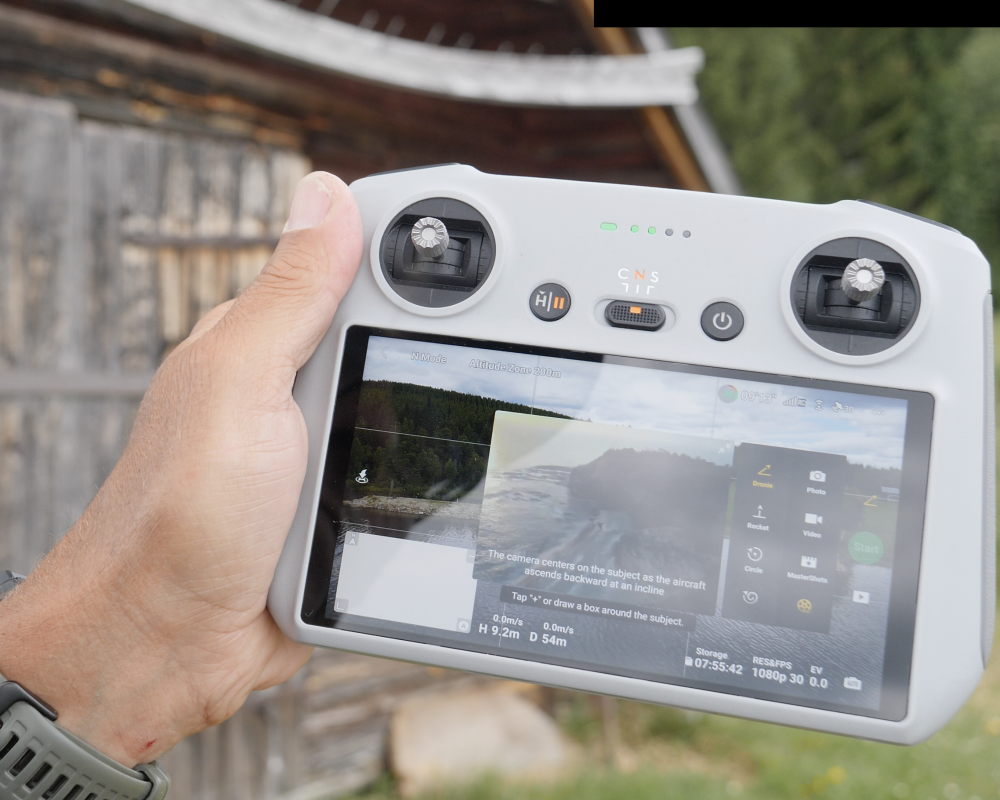
The last but not the least shot that can be created quite easily is a hyperlapse video. The drone flies a set path and takes pictures along the way and so creates a dynamic timelapse.
How I use ActiveTrack
Let me explain a bit more about how I use Active Track. I use it mostly to shoot myself when I am hiking or biking or when I am with the Toyota Landcruiser driving in a nice location. Like I wrote above Active Track has two ways of shooting – let’s keep it simple – me: Trace and Parallel.
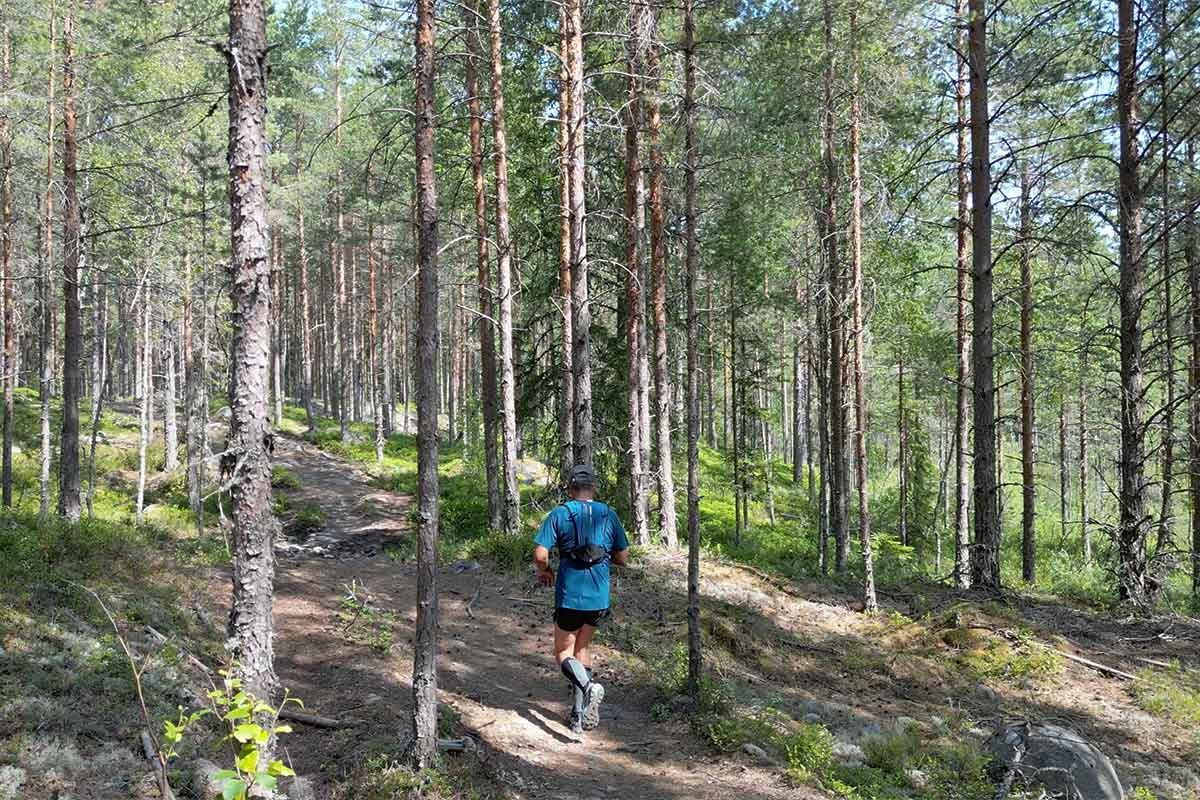
In Trace the drone will track me at a constant distance and in Parallel it will track me while flying beside me at a constant angle and distance. In both modes I am the one that tells the drone what the distance and the angle is. When the landscape is more open both modes work flawlessly: distance and angle are maintained.
When obstacles – like trees – are involved things get more challenging. The drone will try to keep the values that I set, but when it is confronted with an object it will react because of all the obstacles avoiding sensors and techniques that are on board the little drone. The drone will adjust speed, distance and angle to find a responsible way to track.
How good is Active Track?
I have noticed that these interactions between the drone, myself and what is around us, makes super dynamic and interesting footage. For example, a trail running in a dense forest makes the drone react a lot because it tries to find a route through the forest. Have a look at the video! This is not only working when hiking, running and biking but also driving the car on a forest road in Sweden. The DJI Mini 3 Pro has a maximum speed of 57 kph by the way and will resist 38,5 kph winds. Both I tried and it is true.
But there is one condition to keep the drone following me: it should be able to see me. And this is where magic happens. ActiveTrack 4.0 is so good that when I disappear behind some trees – or in case of the car behind a whole row of trees – the drone will pick me up when I am visible again.
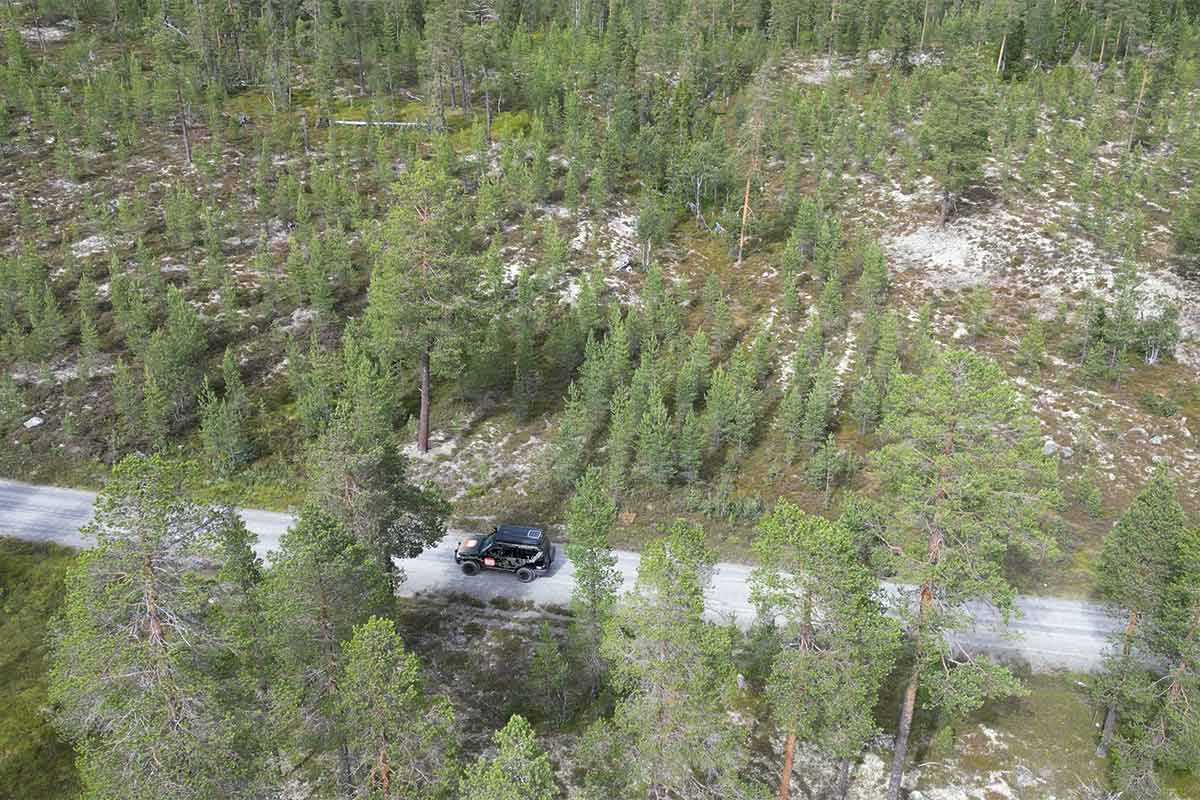
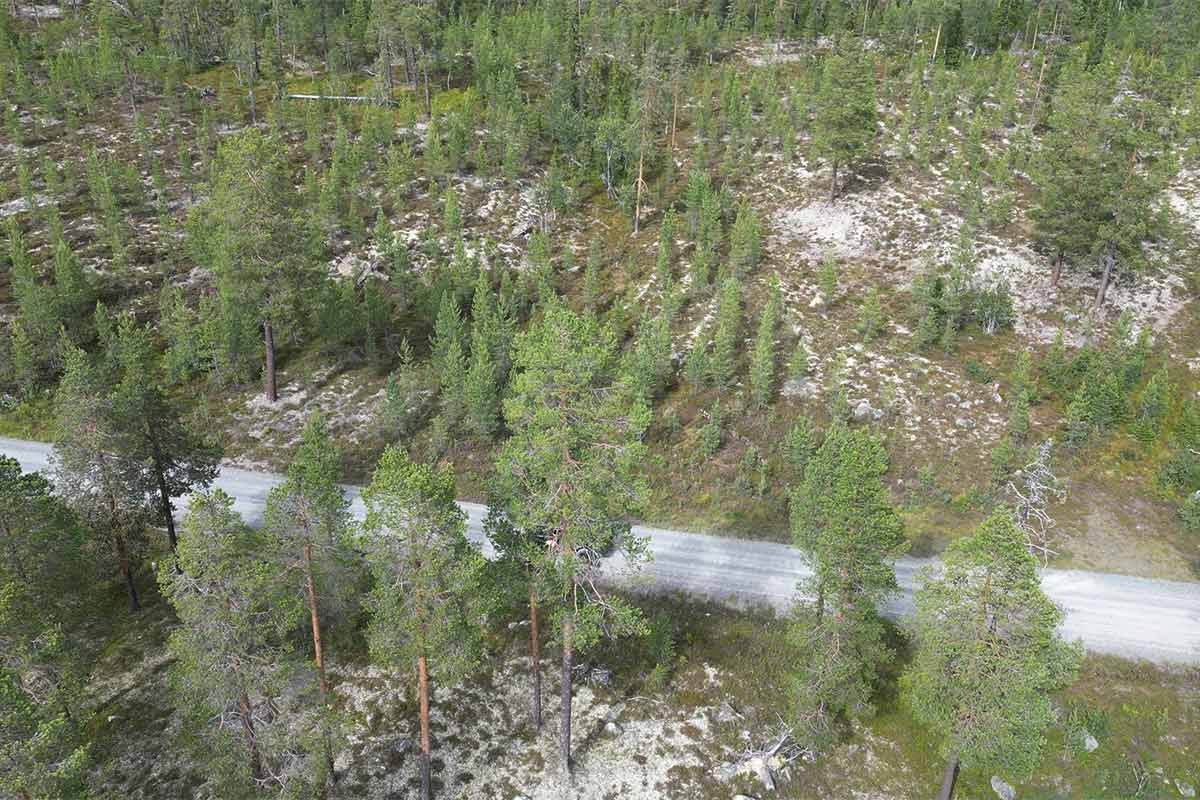
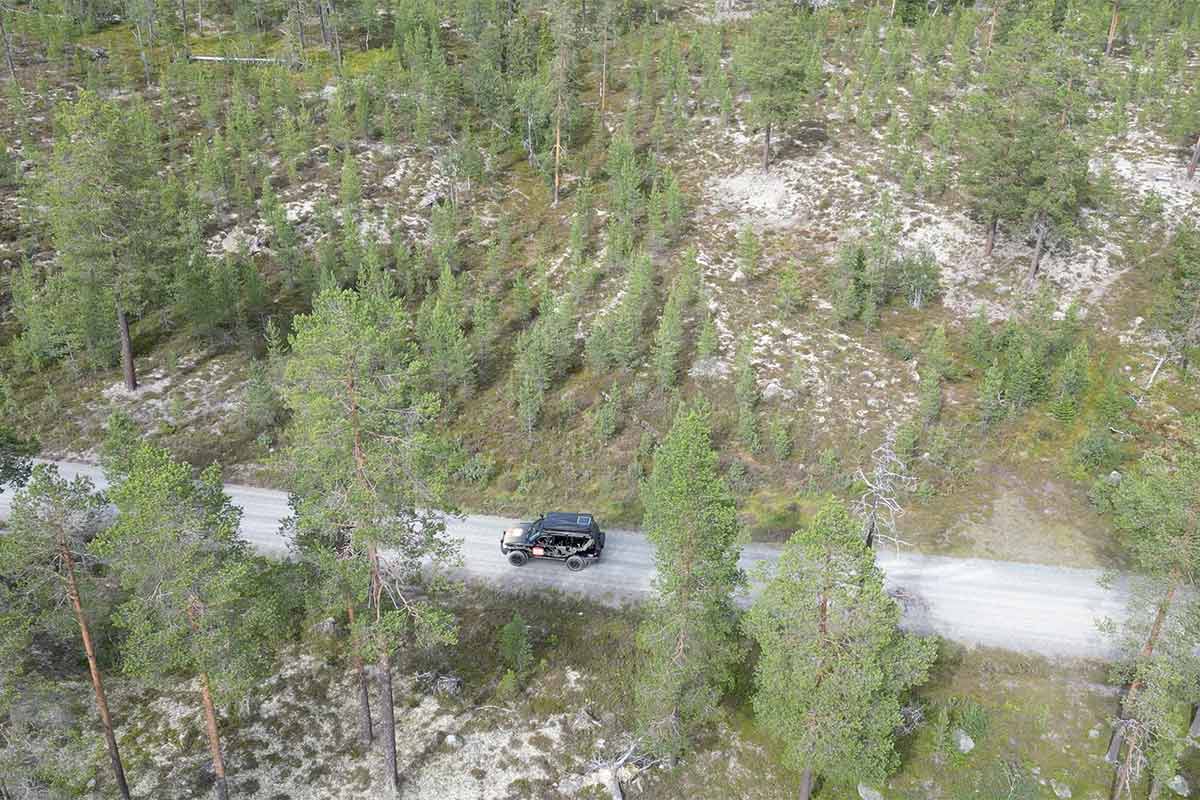
In comparison to the Mini 2 that I own, the Mini 3 Pro is a giant leap forward. Logical since the Mini 2 has no Active Track and only obstacle sensors facing downwards. The Mini 3 Pro has obstacle sensors facing forward, backward and downward. If I compare it to my Air 2S… that one also has obstacle sensors facing upward and also works with Active Track 4.0 so no news for me here. So the Mini 3 Pro is way better than the Mini 2 but the DJI AIR 2S has not been beaten yet.
How I use QuickShot
The QuickShots shooting method is nice if I want to be quick and have shots without thinking too much. The ones I use most are the Dronie, the Helix and the Boomerang. This last one gives the most interesting image in my opinion. With both shots is it possible to set the distance how far the drone flies: from 30 to 120 meter. What I would like to see in the future is that I can adjust the angle. In valley’s the QuickShot methods are pretty tricky since the mountains lined with high trees are the limitation.
QuickShot Top Tip
QuickShots is designed by DJI for easy footage of objects that are stationary. When I bought the Mini 2 I discovered that QuickShots can be used as a sort of Active Track. Since the drone locks on to – let’s say me – it will try to keep me in the center even when I am moving. It does not always work but when you don’t hike or bike too fast… you have a good chance of getting some great footage. I use it with the Air 2S and tried it with the Mini 3 Pro too. But keep an eye on the drone!
Video image quality
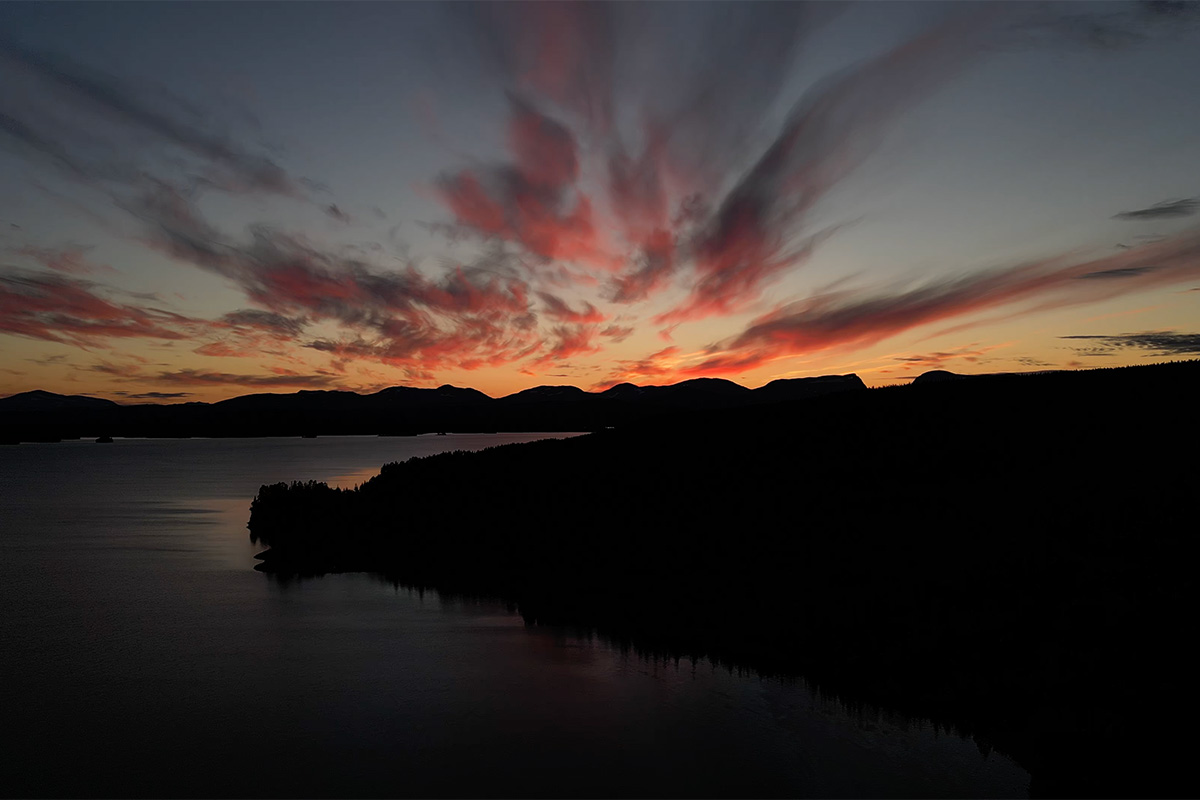
I am not the person that is very knowledgeable on this. For sure I try to get the best image when I am shooting, but I don’t tweak a lot and mostly I fly and shoot with settings on automatic. And I am happy with it. Best is always to pick the right moment of the day: early morning, late afternoon. For my drones I have full sets of ND-filters, they don’t come with Mini 3 Pro and I did not want to buy an extra set for this review not knowing if I was going to buy the drone.
Sometimes I shoot in 10 bit D-Log with the Air 2S if I want to achieve something cinematic. Both Mini’s don’t have this option. Overall I am happy with the image quality with all three and yes the low light performance of the Mini 3 Pro is better than the Mini 2 but between the Air 2S and the 3 Pro… I couldn’t tell.
Flight time
DJI promises a maximum flight time of 34 minutes in windless conditions and flying 21,6 kph. I didn’t check this since I never have conditions without wind. But… I believe them since I mostly come 20-28 minutes easily. This is not much different from the drones I own. One remark: DJI offers an ‘Intelligent Flight Battery Plus’ battery that extends the flight time to 47 minutes. This is sadly not an option for my drones. Be aware that the drone will
Flight distance
How far can I fly my drone? This question never came to mind until I read the specs of the Mini 3 Pro: 18 km! I don’t know if I ever came to this distance with any drone. I like to keep the drone close within sight and if I fly more than a couple of kilometers that is enough.
Same for the transmission distance off the remote. For the Mini 3 Pro and the Air 2S it is 12 km when unobstructed and without interference. The Mini 2 is 10 km. Like I wrote: I always have my – or someone else’s – eyes on the drone. 500 meters is far for me. And when I wrote ‘always’… of course there is an exception. In Sweden on a large plain I lost the drone out of sight when it disappeared in a cloud. I flew the wrong direction and I was happy with the Bring me Home function. It came back automatically and landed quite gently.
Battery charging
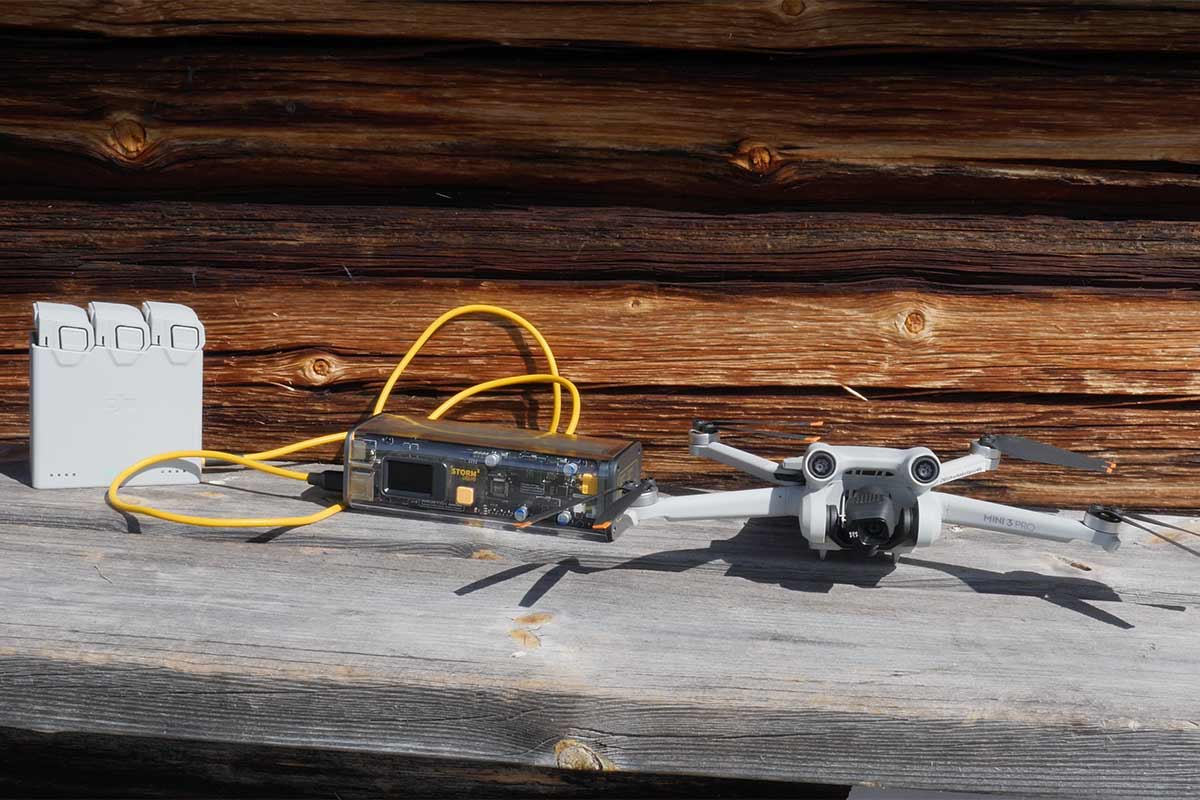
When DJI sent me the Mini 3 Pro there was not a charger in the box. I thought this was a mistake so I used the one of my Mini 2. This is a 18 Watt charger with a USB-C cable. What I did get was the DJI Two-Way Charging Hub for charging three batteries. With the 18 Watt charger I already felt that charging takes decades and with an iPhone adapter it takes centuries. I would advise to buy the 30 Watt charger that DJI sells separately; charging should be about 60 minutes per battery.
What I miss on the DJI Mini 3 Pro
When I compare the practicality of my two drones and the review of the DJI Mini 3 Pro, I do miss a few things on this new kid on the block.
The first thing that I miss is a guard that protects the propellers when I tuck the drone in a backpack or the pouch that it comes in. The Mini 2 has it and it keeps the props in one piece. I used an elastic band with the Pro… Does not look very professional.
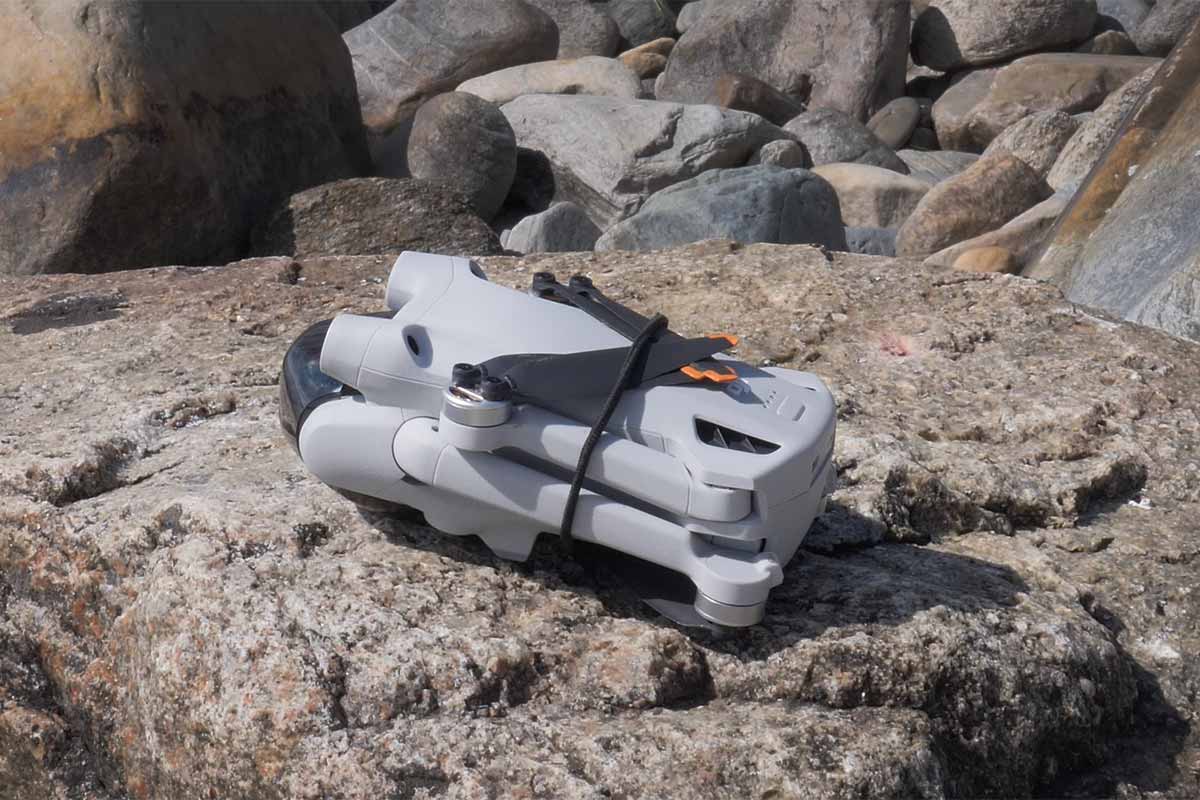
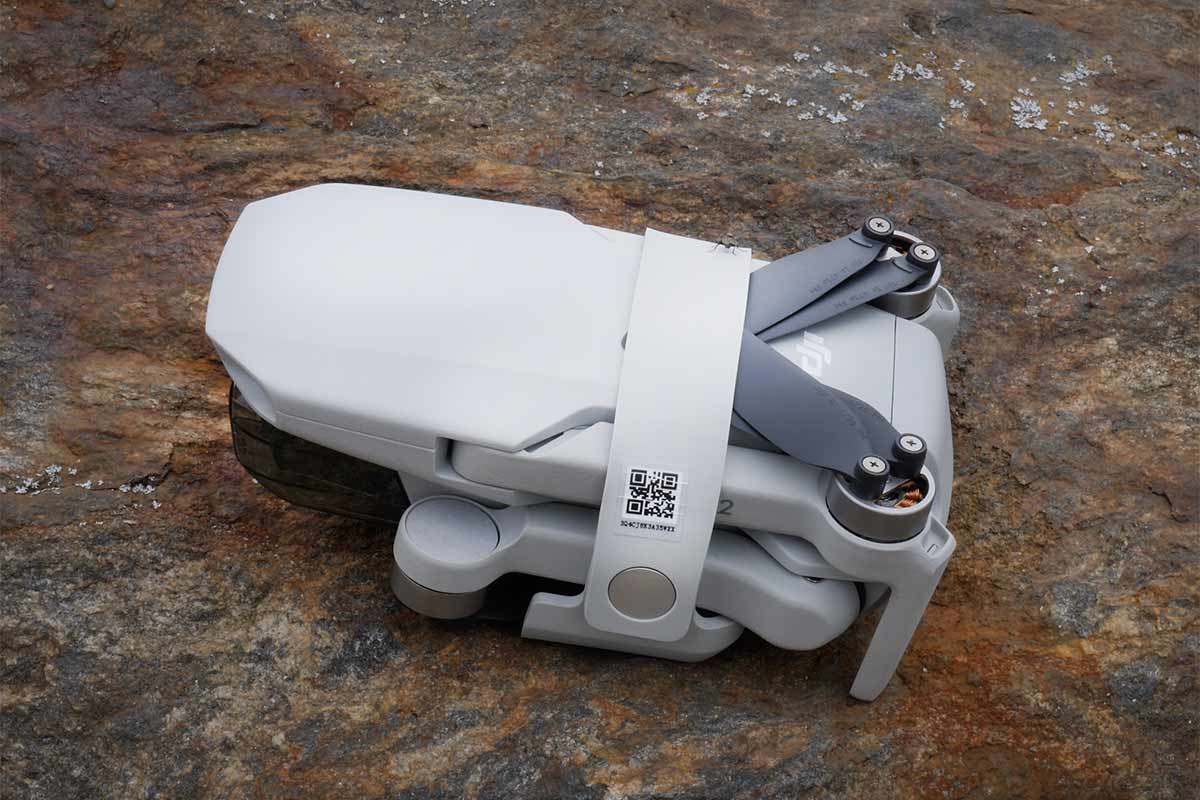
The second remark I need to make is the lack of decent legs. The Mini 2 might be small but it has two proper legs and two min legs. This makes taking off and landing on uneven ground or grass easier. The Mini 3 Pro repeatedly does not want to start because the propellers are jammed by grass or other stuff in nature. Maybe I should bring a proper platform in my backpack… adding more weight and bulk. Then I would rather take the Air 2S with its big legs.
The third remark is landing the Mini 3 Pro. Same problems as above but with one extra. The landing legs near the gimbal have rubberized tips, the ones near the rear don’t. Maybe this is because these legs are part of the battery. Fact: when landing the Mini 3 Pro lands on the back legs first and when landing on the large hood of my Landcruiser these legs slip. Please rubberize these too.
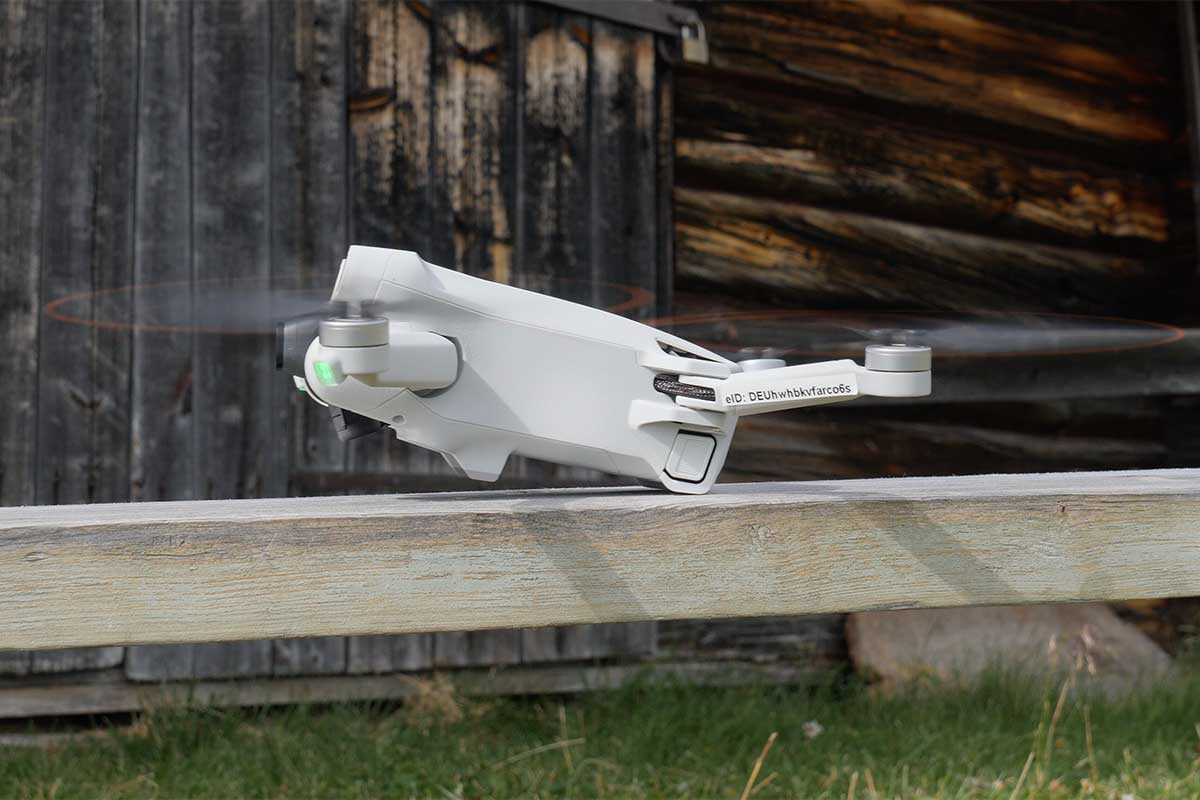
The fourth remark is that the DJI Mini 3 Pro is better equipped for shooting in low light or even dark circumstances. Why am I missing a landing light like on the Air 2S? I know the answer: every extra results in more weight.
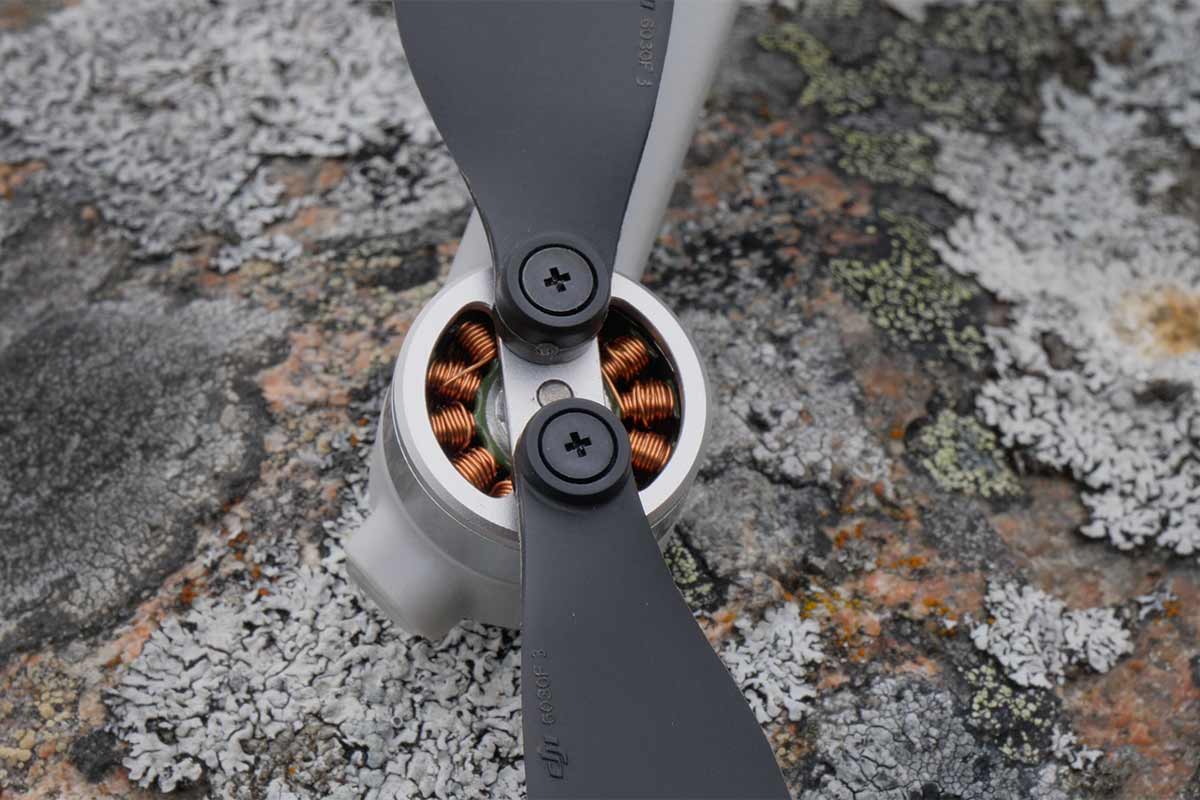
The fifth is the fact that the propellers are screwed on with tiny screws. This is the same on my Mini 2 and with cold hands it is not very nice to replace the propellers. The heavier click system on the Air 2S is better in that respect. Again a weight thing hence a compromise. I do understand and respect this.
Verdict
After reading my last five points, you might think that I am not very happy with the DJI Mini 3 Pro. On the contrary. I think DJI achieved something amazing. They have taken the best features of two drones and combined them in a lightweight, packable and very capable flying wonder. The weight under 250 grams makes the DJI Mini 3 Pro a drone that you can almost fly everywhere*. In combination with the new RC remote the Pro is a dream to fly. The Active Track and obstacle avoidance works super. All predefined shooting modes make the Mini S Pro easy to create and shoot beautiful footage. I would like to see a propeller guard for transport and rubberized legs on the back though.
The DJI Mini 3 Pro retails for € 859,00 with one battery, one set of spare props, some bits and bobs and the ‘old’ RC-1N remote. With the new remote the price goes up to € 1029,00 and without a remote the price is € 759,00. Need more batteries? The DJI Mini 3 Pro Fly More Kit set will give you two extra batteries, a docking station, more props, bits and bobs at a price of € 199,00. And you still don’t have a charger. The DJI 30W USB-C Charger will set you back another € 19,00.
For some sort of reason the price of the DJI Mini 3 Pro feels a bit high. The DJI Mini 2 costs € 479,00 and the DJI Air 2S retails for € 1029,00. The gap between the 2 and the 3 Pro is too big and between the 3 Pro and the Air 2S too little. Taken all the pros and cons’ and the price into account, I rate the DJI Air 3 Pro at XX points.
Now back to the beginning: Will the DJI Mini 3 Pro replace my DJI Mini 2 and DJI Air 2S? No is the answer. In footage the latter performs almost the same as the Mini 3 Pro. Next to that it has more sensors, a landing light and real legs so I can land in ruffier terrain. When I don’t want to carry weight and need to limit my pack volume I take the Mini 2. That has proven to be very capable too. Would I like to own a Mini S3 Pro? Yes, for sure. My birthday is coming!
*Registration or a license is not required in some countries and regions. Check local rules and regulations before use.
Information
DJI: www.dji.com
Link to the drone comparison: www.dji.com
